
Below are some of the before and after images and galleries of projects I have completed here, in New York City. This is a small representation of my work; restoring apartment homes, windows, etc.. Please feel free to ask additional questions about your specific project.
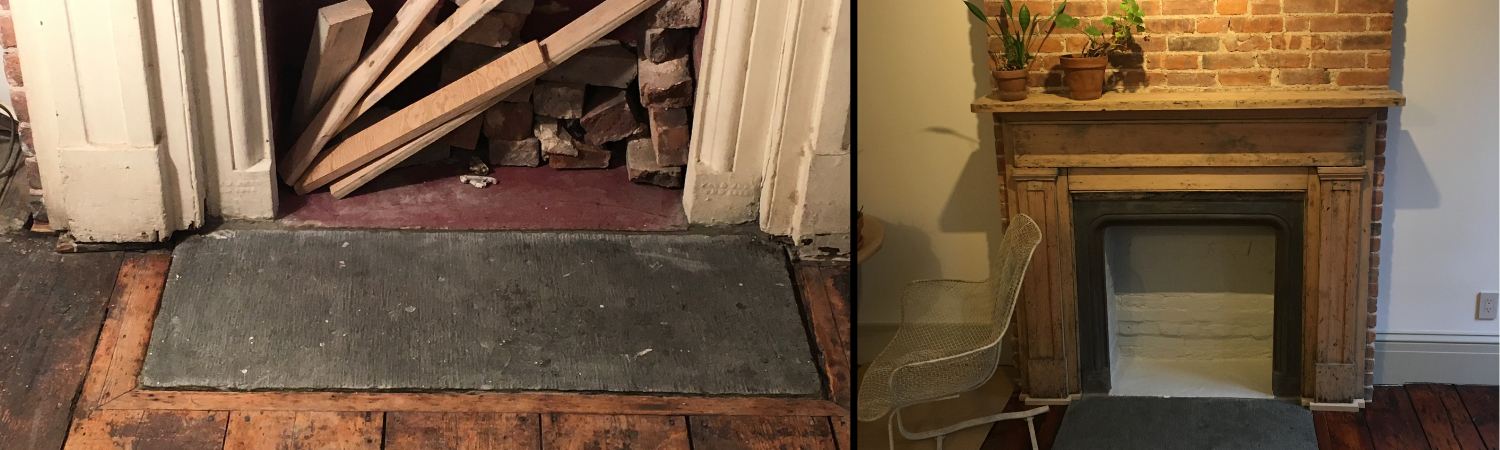
Apartment Living Room Fireplace
Before
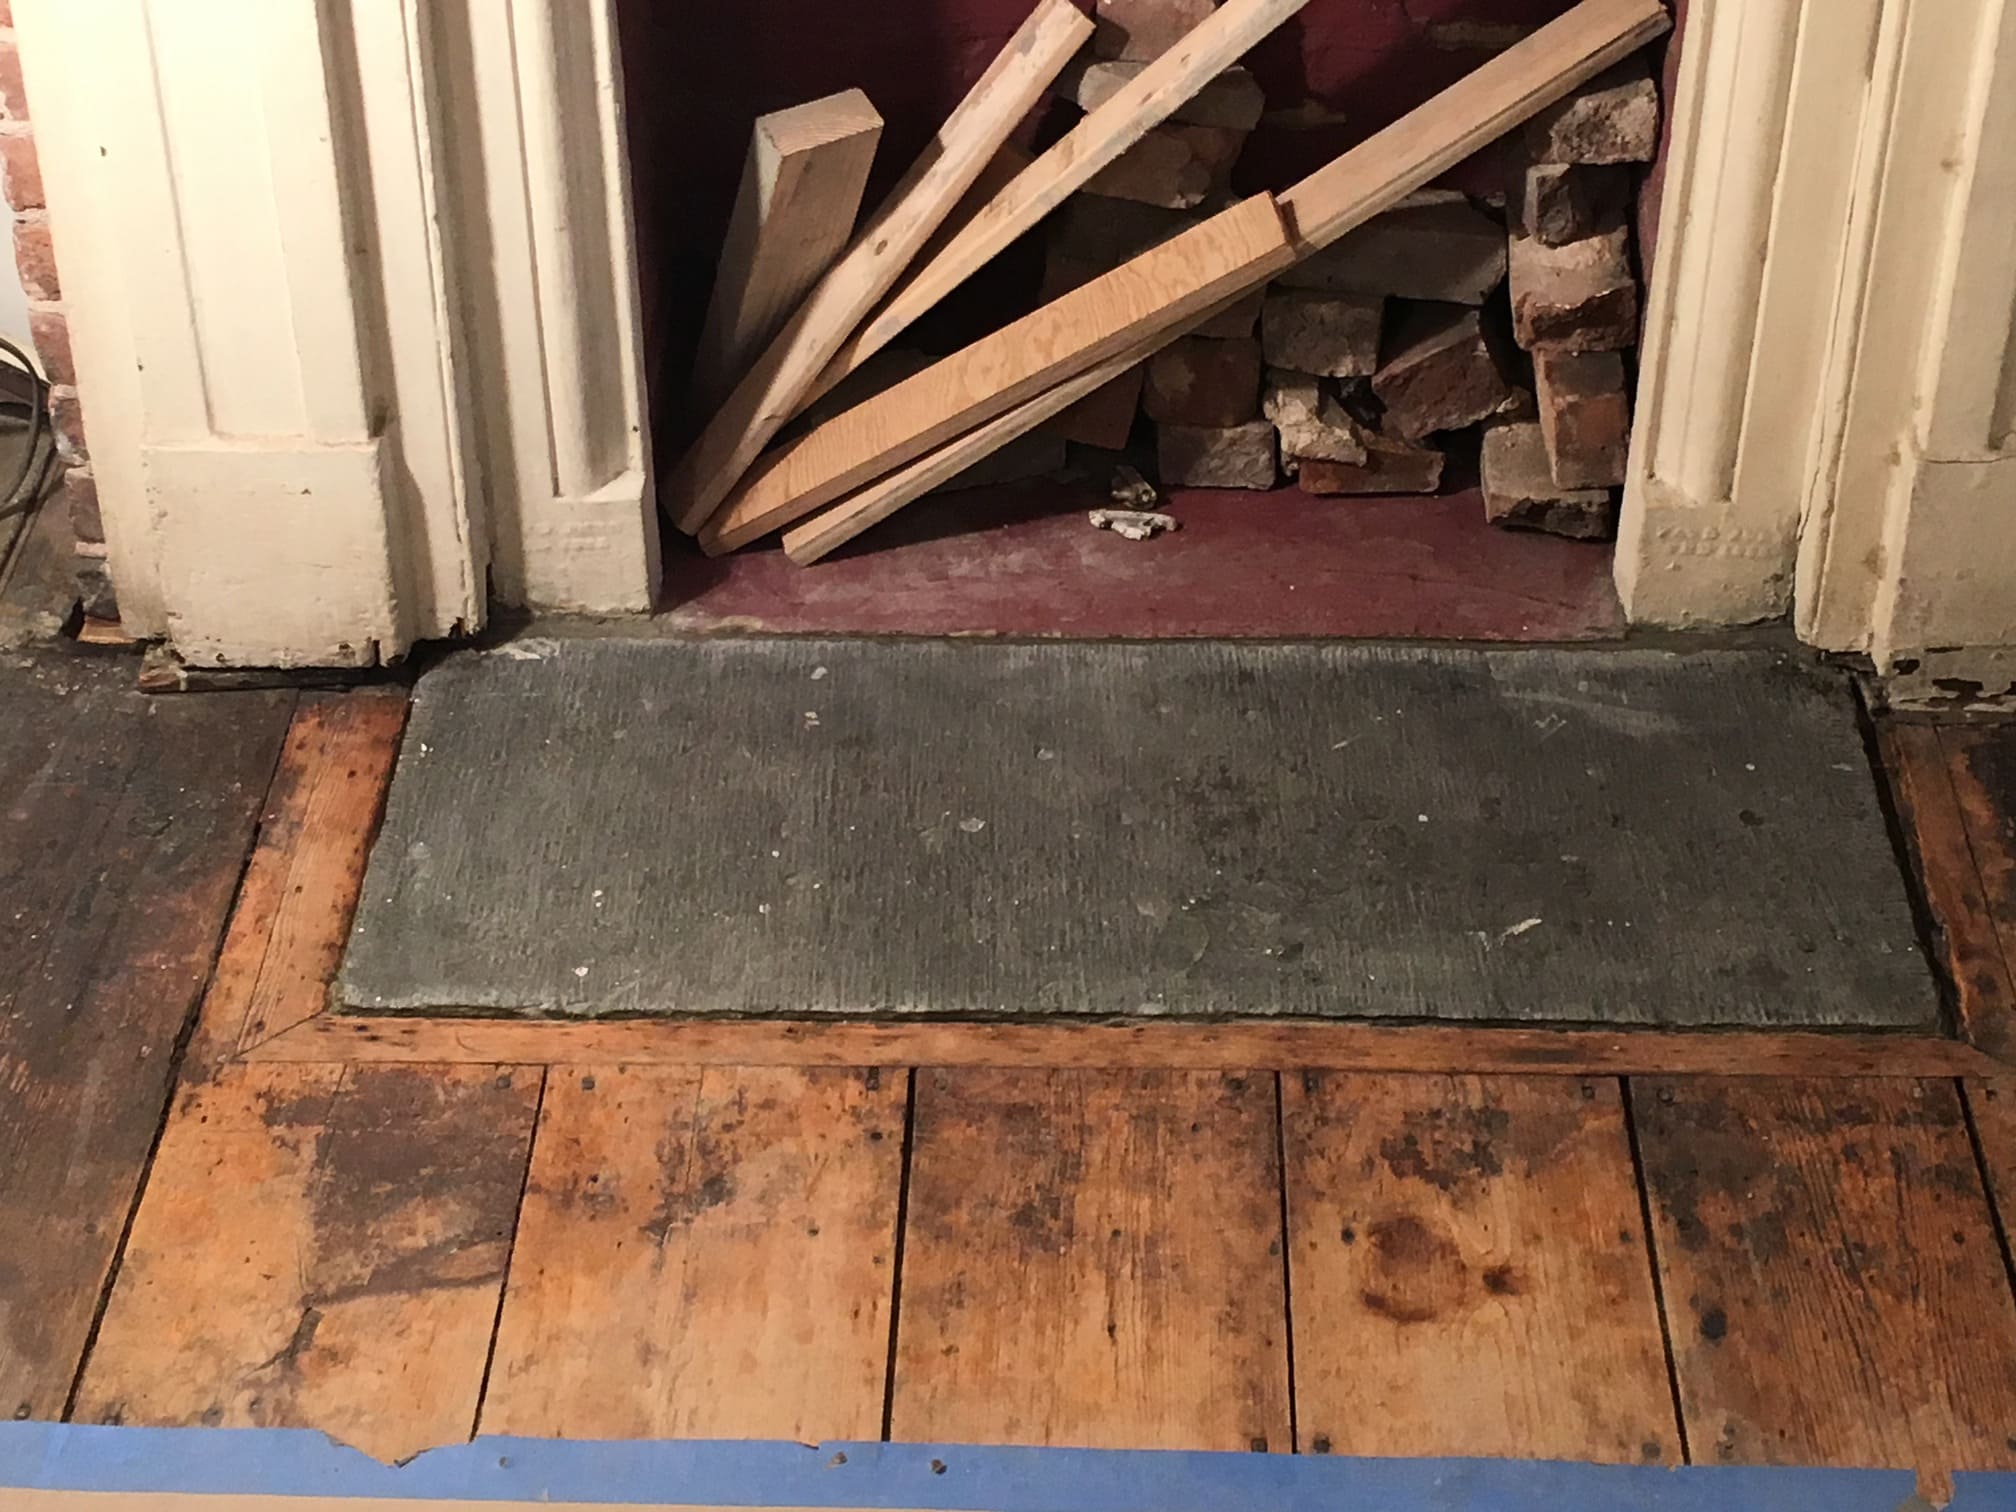
Apt. living room fireplace picture of the hearth after having been reset, the photo shows wood mantle painted, (yet to be stripped), and the hearth cast iron frame/rim not completely paint removed.
Apt. Living Room fireplace area all projects finished but surrounding area not complete.
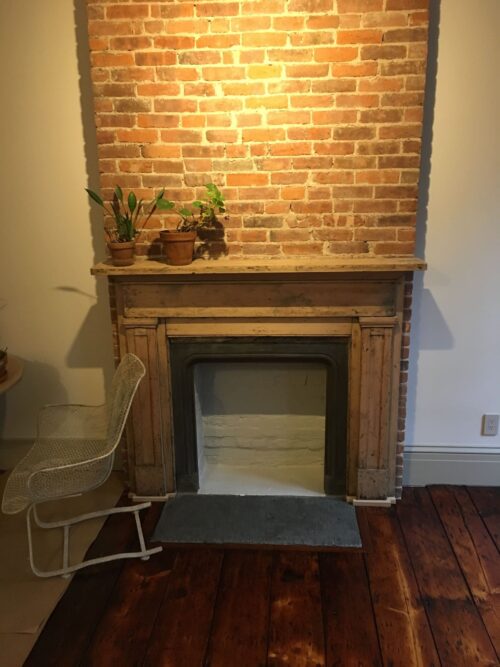
After

Apt. Living Room fireplace with kitchen view after picture. Empty apartment before it was rented out to new a tenant.
Apartment Entrance Door
Before
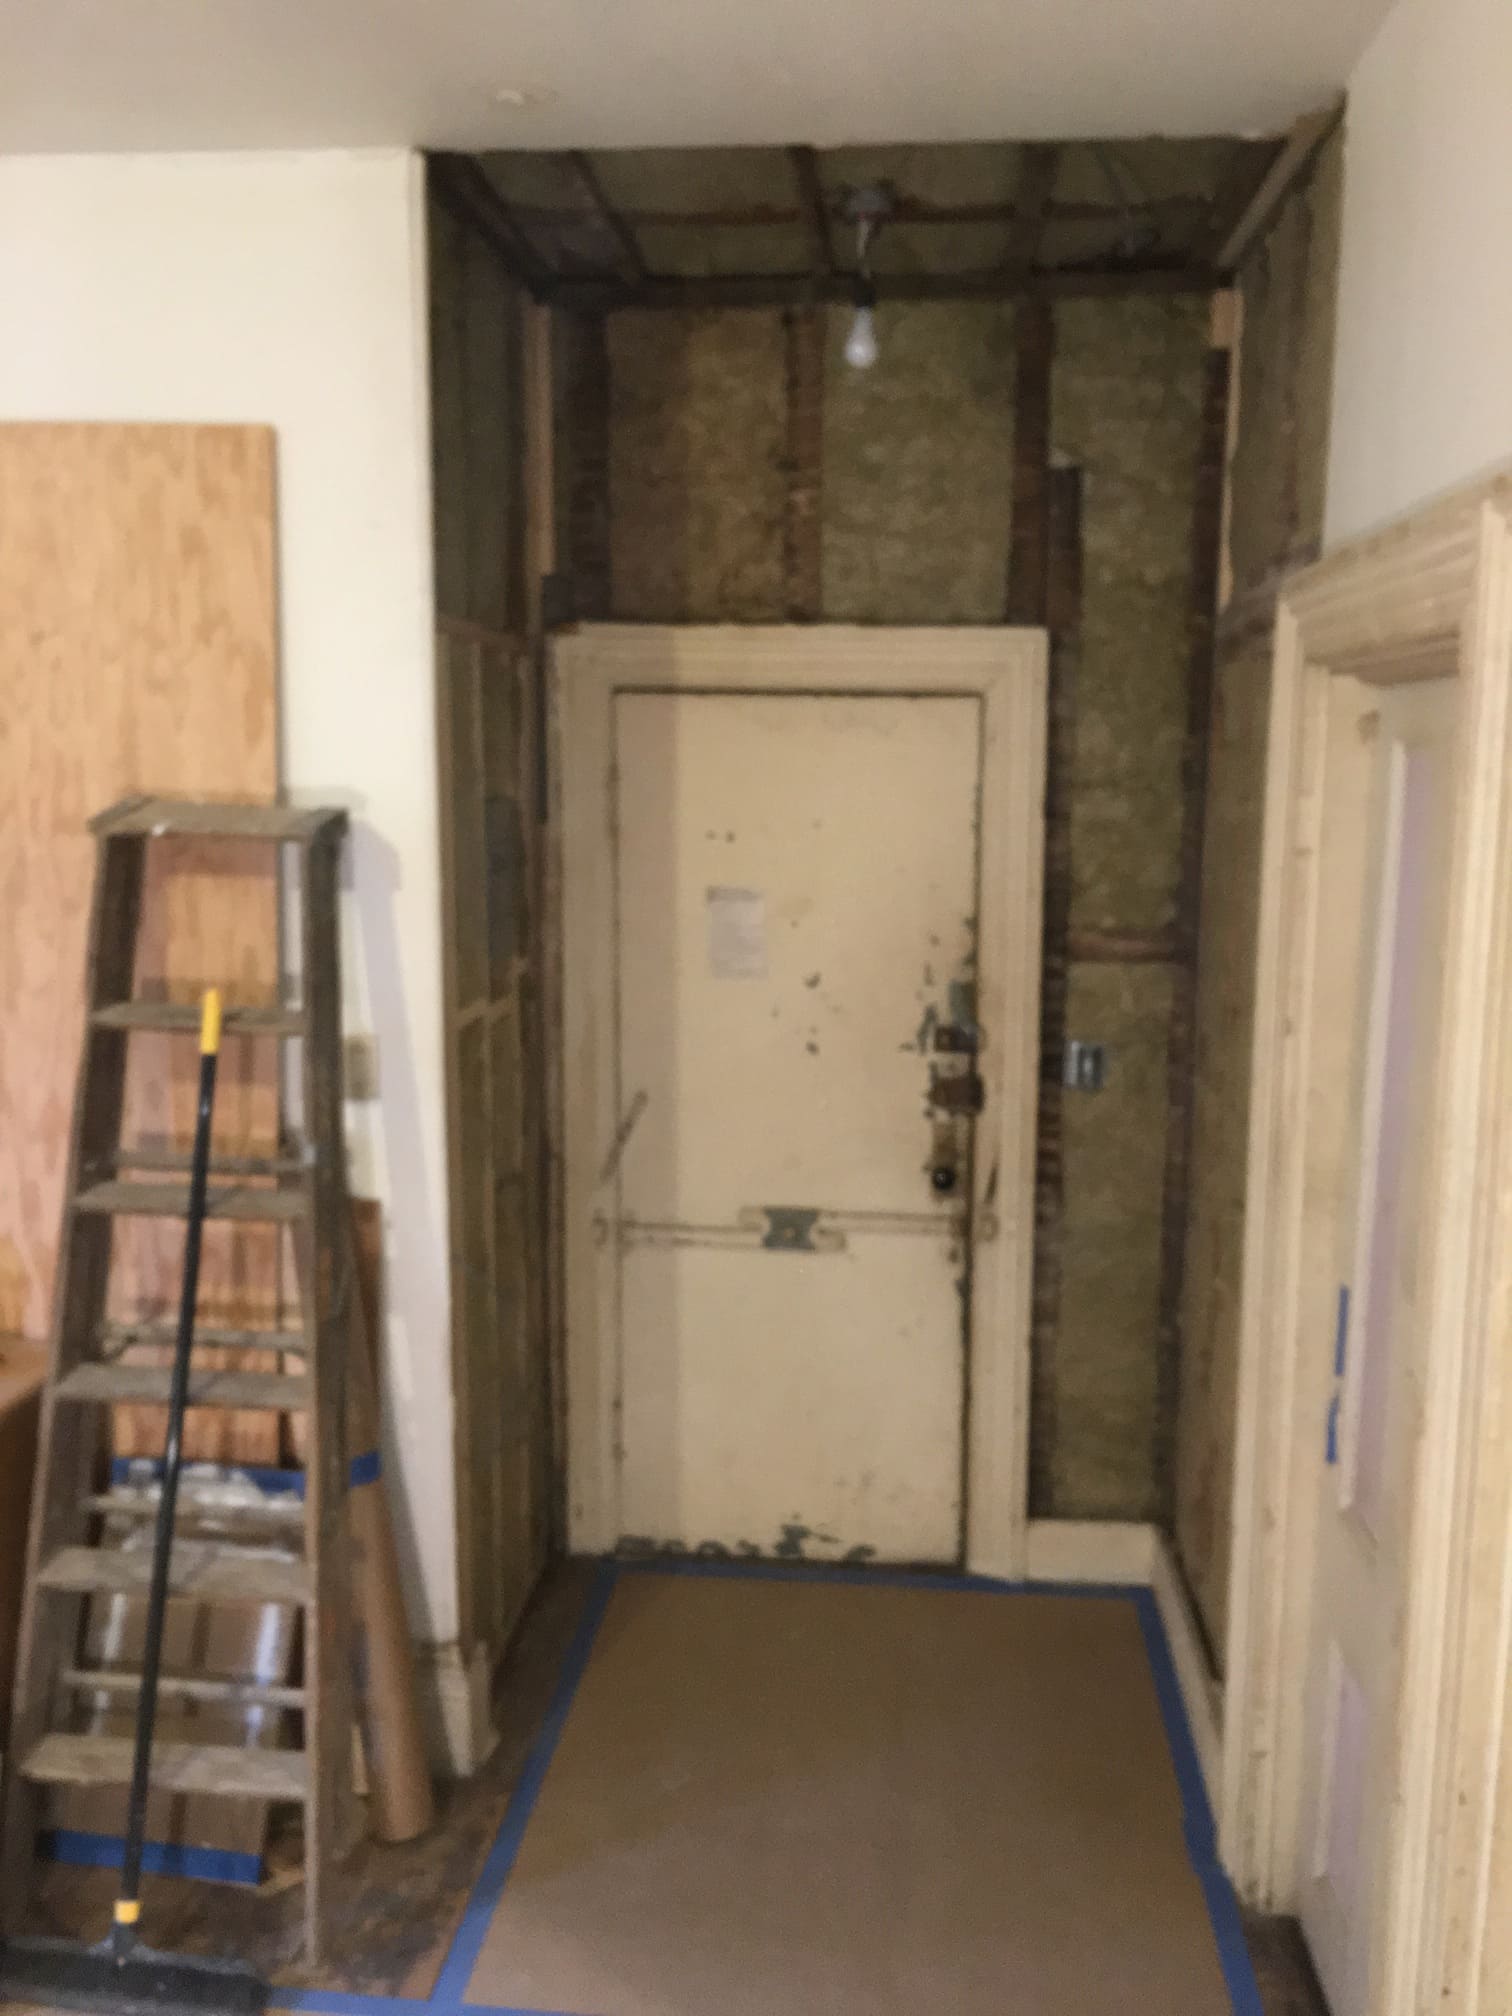
Apt. entrance door view from inside of the apartment shows that the door is still painted with police lock on it; additionally the wall studs are exposed with SAFB insulation.
Before
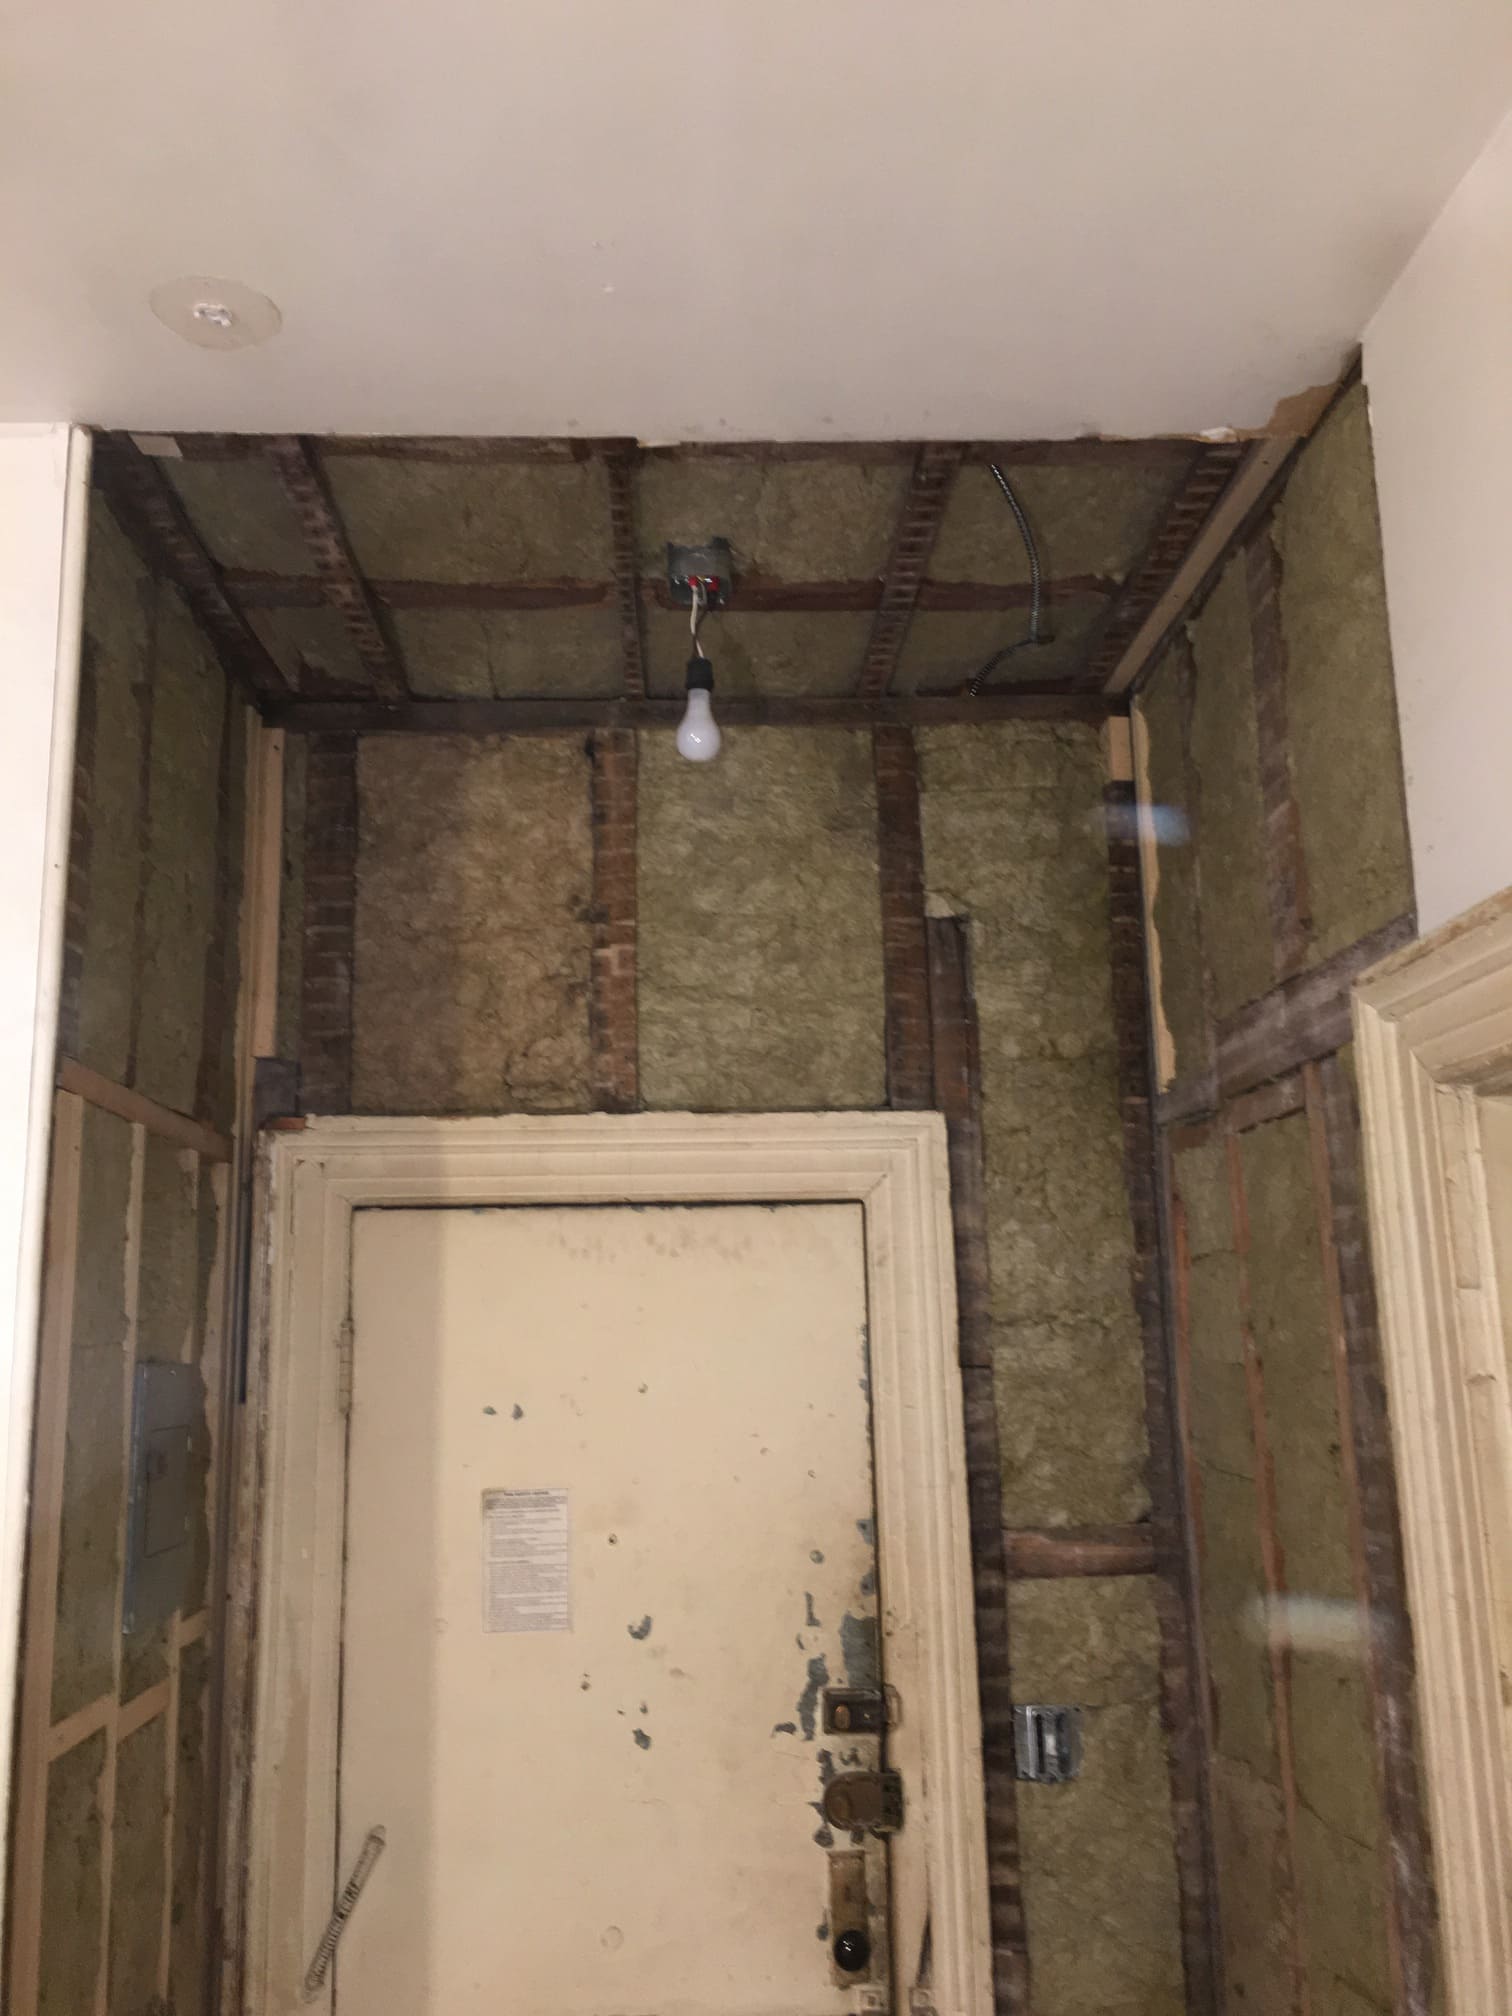
Apt. entrance door photo similar to the previous one but taken with more of the ceiling showing.
After

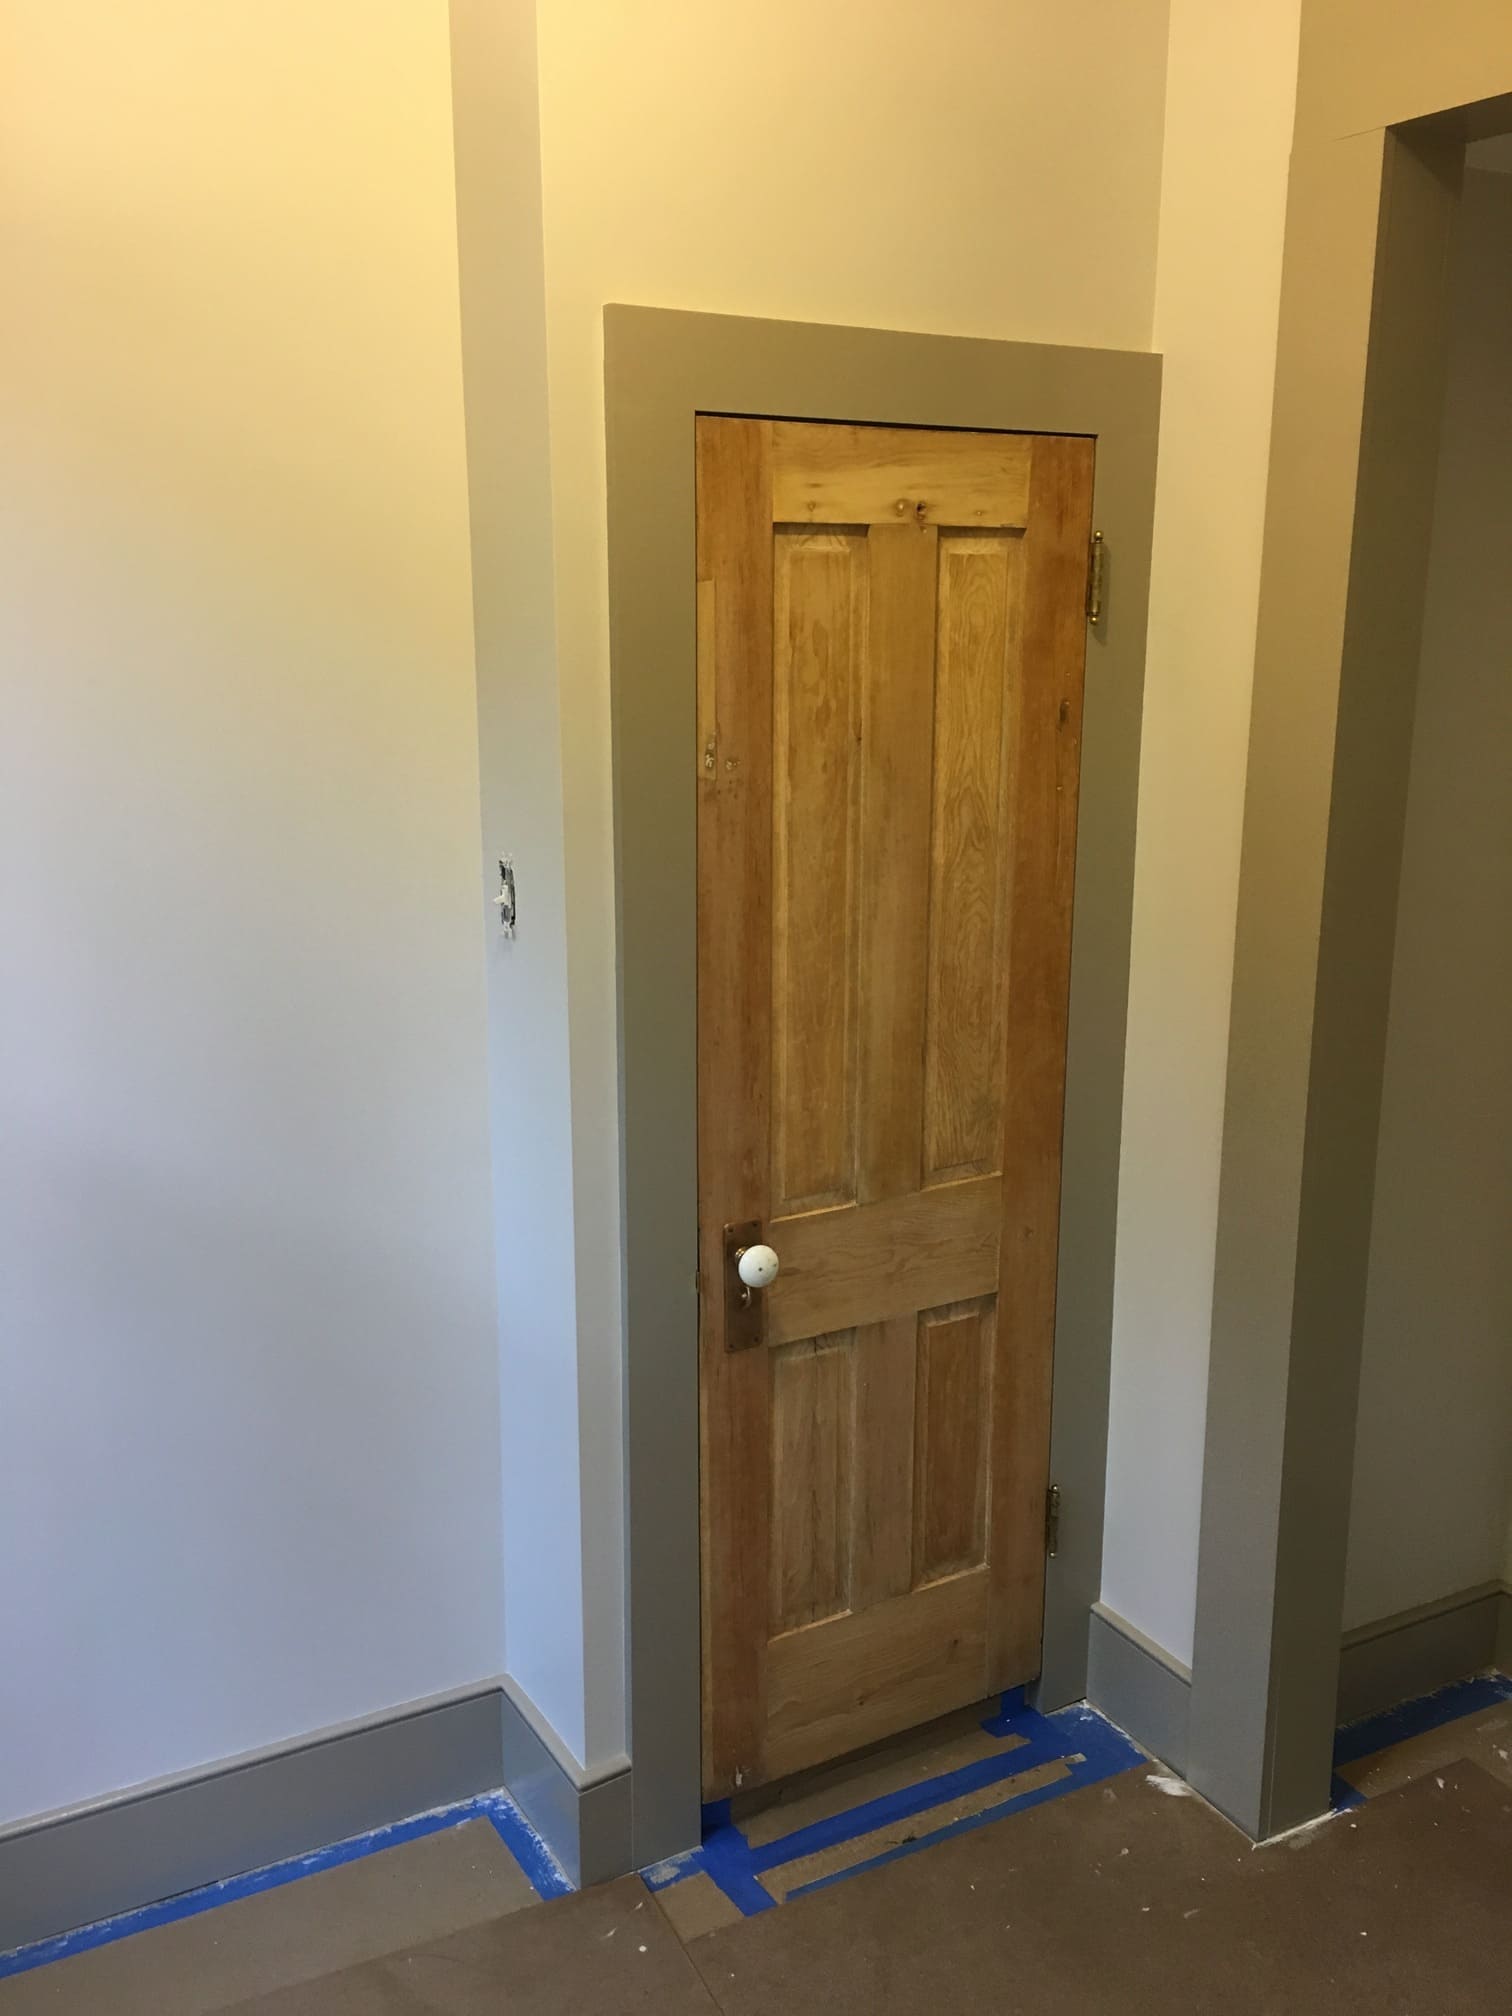
Apt. entrance door picture taken when the job was finished. John removed paint from the metal clad interior of door, removed the paint on the door frame, and painted the door with a new color paint. Then, the surrounding walls were finished and painted the final color (with electric devices finished).
Apartment Entrance Door and Surrounding Area
Before

This is the apt. entrance area, top of door, and ceiling above entry area with electrical roughing for light.
After

An additional photo of the apt. entrance area top of door and ceiling above entry area with new custom ceiling light fixture.
Apartment Baseboard Around The Room
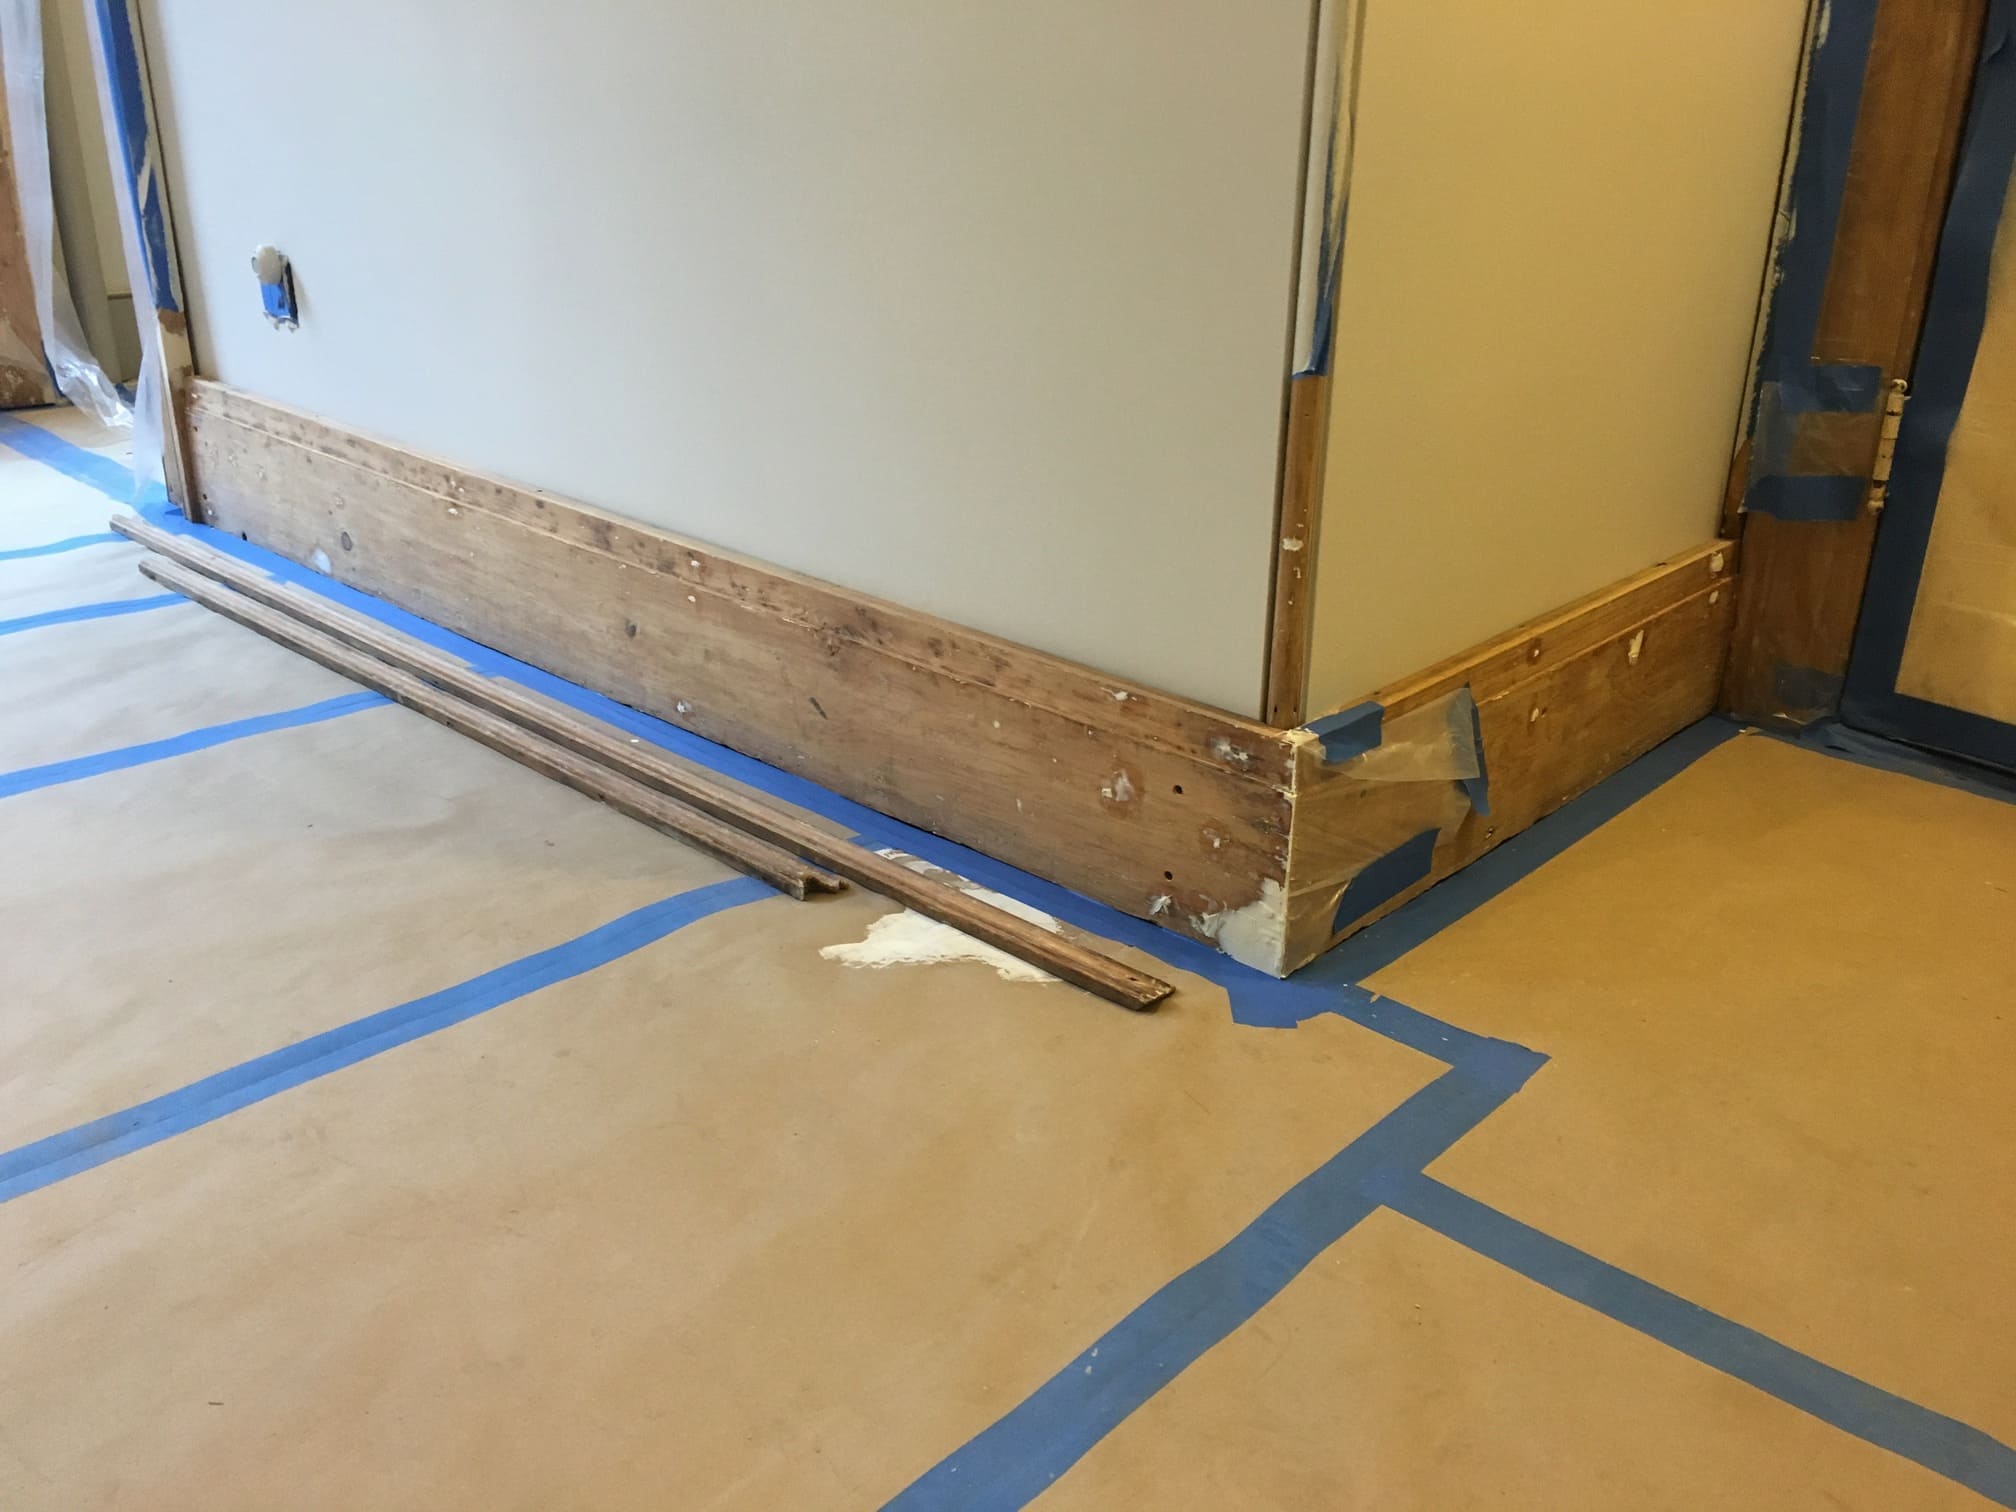
The photo sequence starts from entrance area showing baseboard to the left of the door, (far left of photo is the door opening to the office apartment), going right you can see the left side of the entrance door. The baseboard has had the paint removed, it was repaired in multiple places, and the longer left piece is original for this location. The one mitered to it, (on the right) has been salvaged from another location in the building to use here and keep the architectural aesthetics complete. Top pieces of this two-piece baseboard are lying under the longer left baseboard. They were installed ready to be cut/fit. To complete the original look some wood filling has been done.
Before

Here we see the double door opening frame and more of the replicated baseboard to the right of the double door opening.
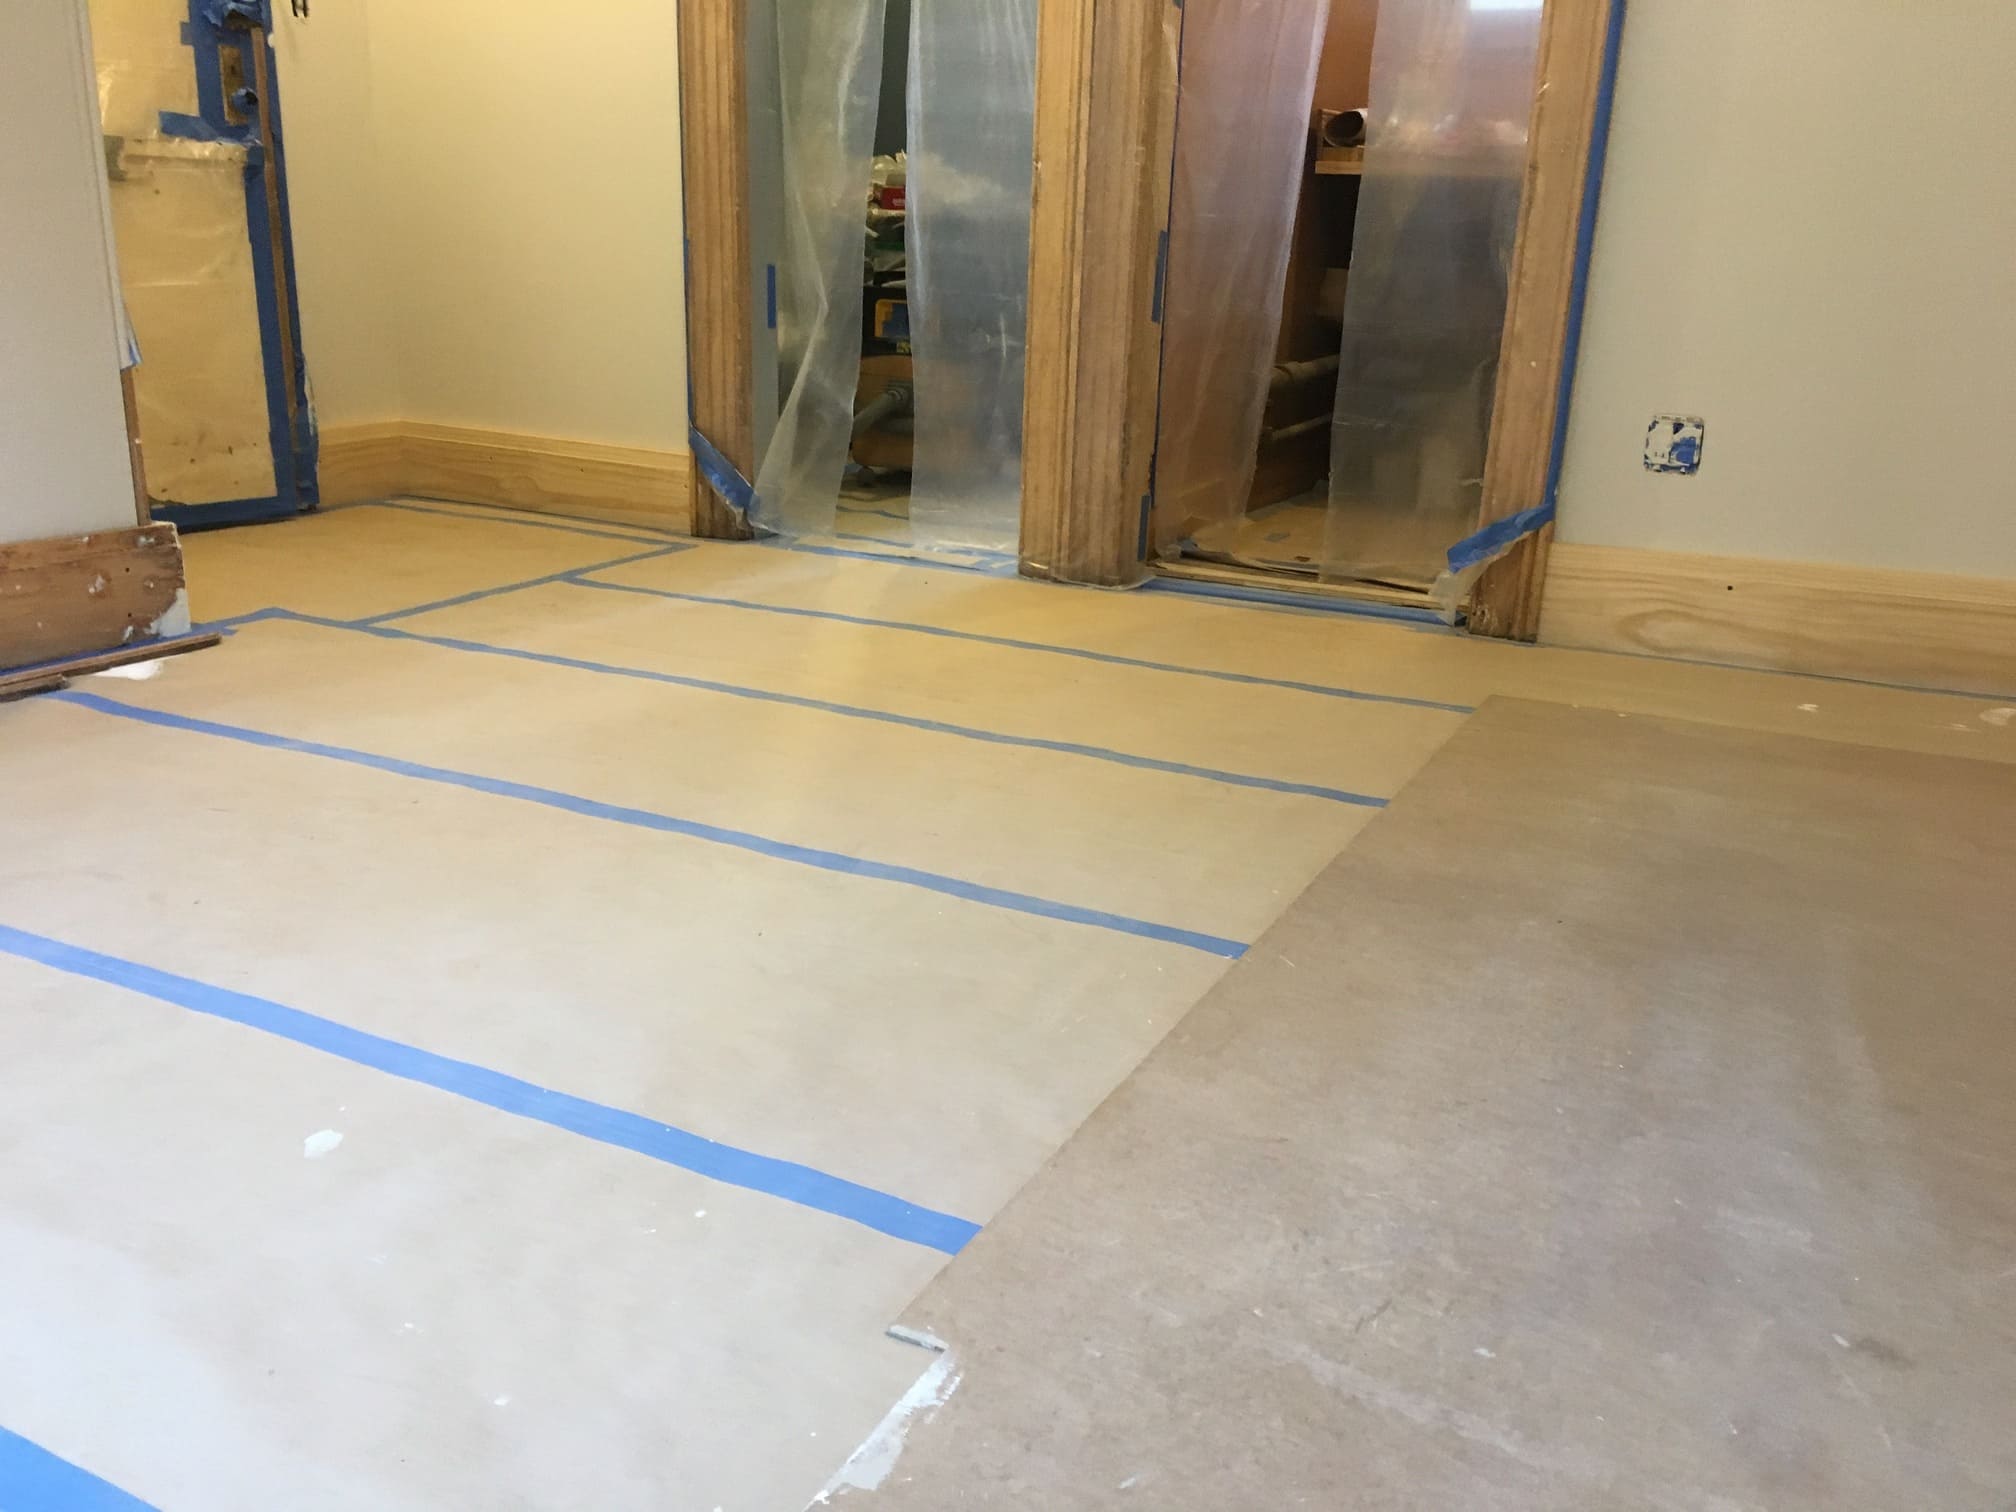
You can see on the left baseboard and the double door opening frame with basic paint removal completed and more replicated baseboard to the right.

Here you can see more of the replicated baseboard installed from the left of the living room fireplace.

Living room fireplace is shown almost complete, replicated baseboard right and left of it, and the left side of the eastern most living room window frame to floor with small section of complete original 2-piece baseboard paint removed.

You can see in this photo from the right side of the fireplace going to the left of the western living room window. Part of the paint had been removed and repairs to wood work completed.

This photo shows the right side of the entrance door and shows replicated baseboard, the bottom portion only at client’s request.

This photo shows the door opening to the office from the living room in the apartment, with the paint removal not complete on the living room window, (left side of this photo) and the old baseboard hasn’t been installed yet to the right of the door opening.
After

This is a panoramic view of living room which shows all baseboard and window frames, door opening frames completed. This is the after photo for all seven photos from this series of living room baseboard.
Apartment Bathroom Door
Before

In this picture the bathroom door is still painted with ancient paint. The original door has been installed as is in newly made door frame (frame still unpainted).
After
Now the bathroom door has been stripped on both sides. All the door hardware has had the paint removed. Frame has been painted but door has been left as is, (at the client’s request).
Office Window
Before

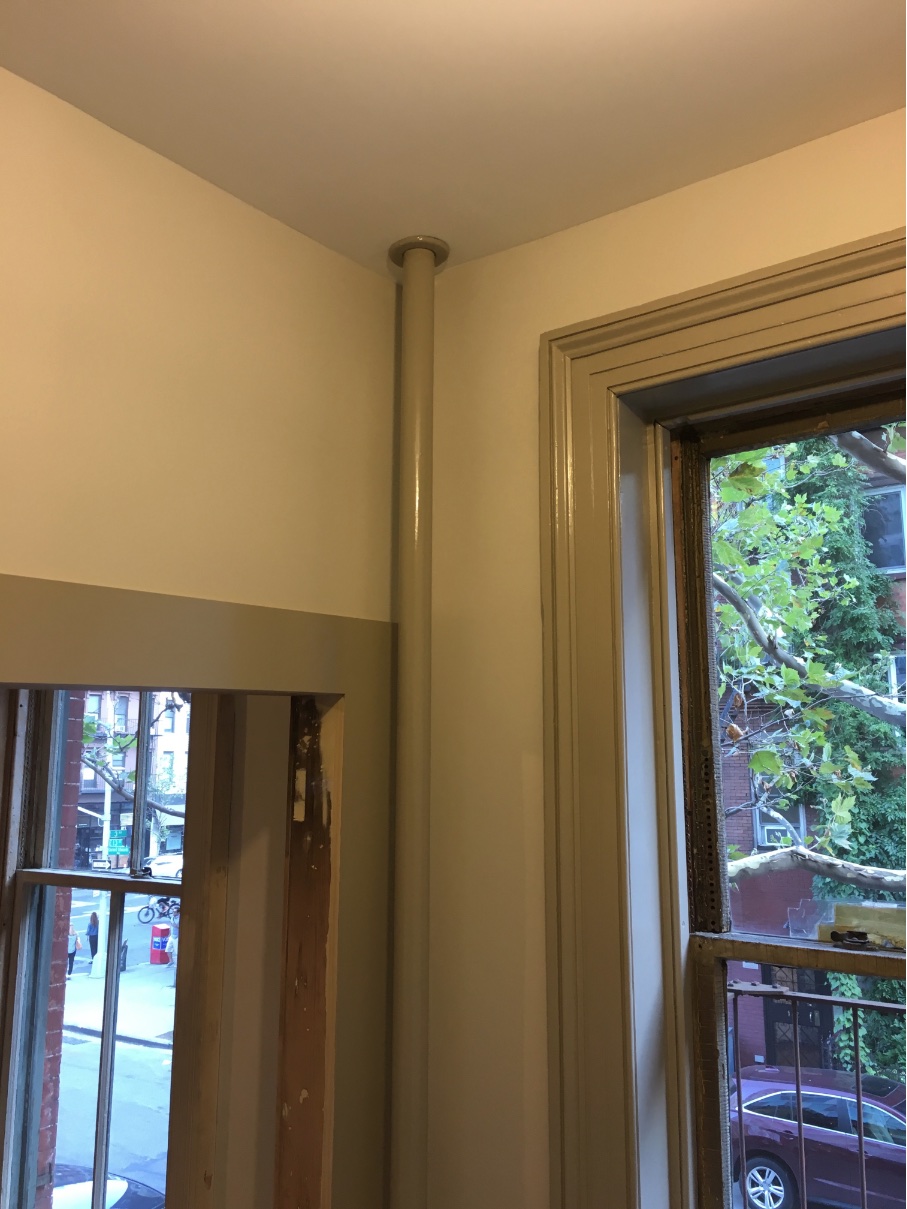
This photo shows the apt. office window, (left side) the right side of the door opening to the living room; seen from the office and heat pipe, (more a room corner view).
After
This photo is the after view, finished version of the office window.
After

Another photo shows the apt. office window stripped of paint with some old fire damage repaired and filled already.
After
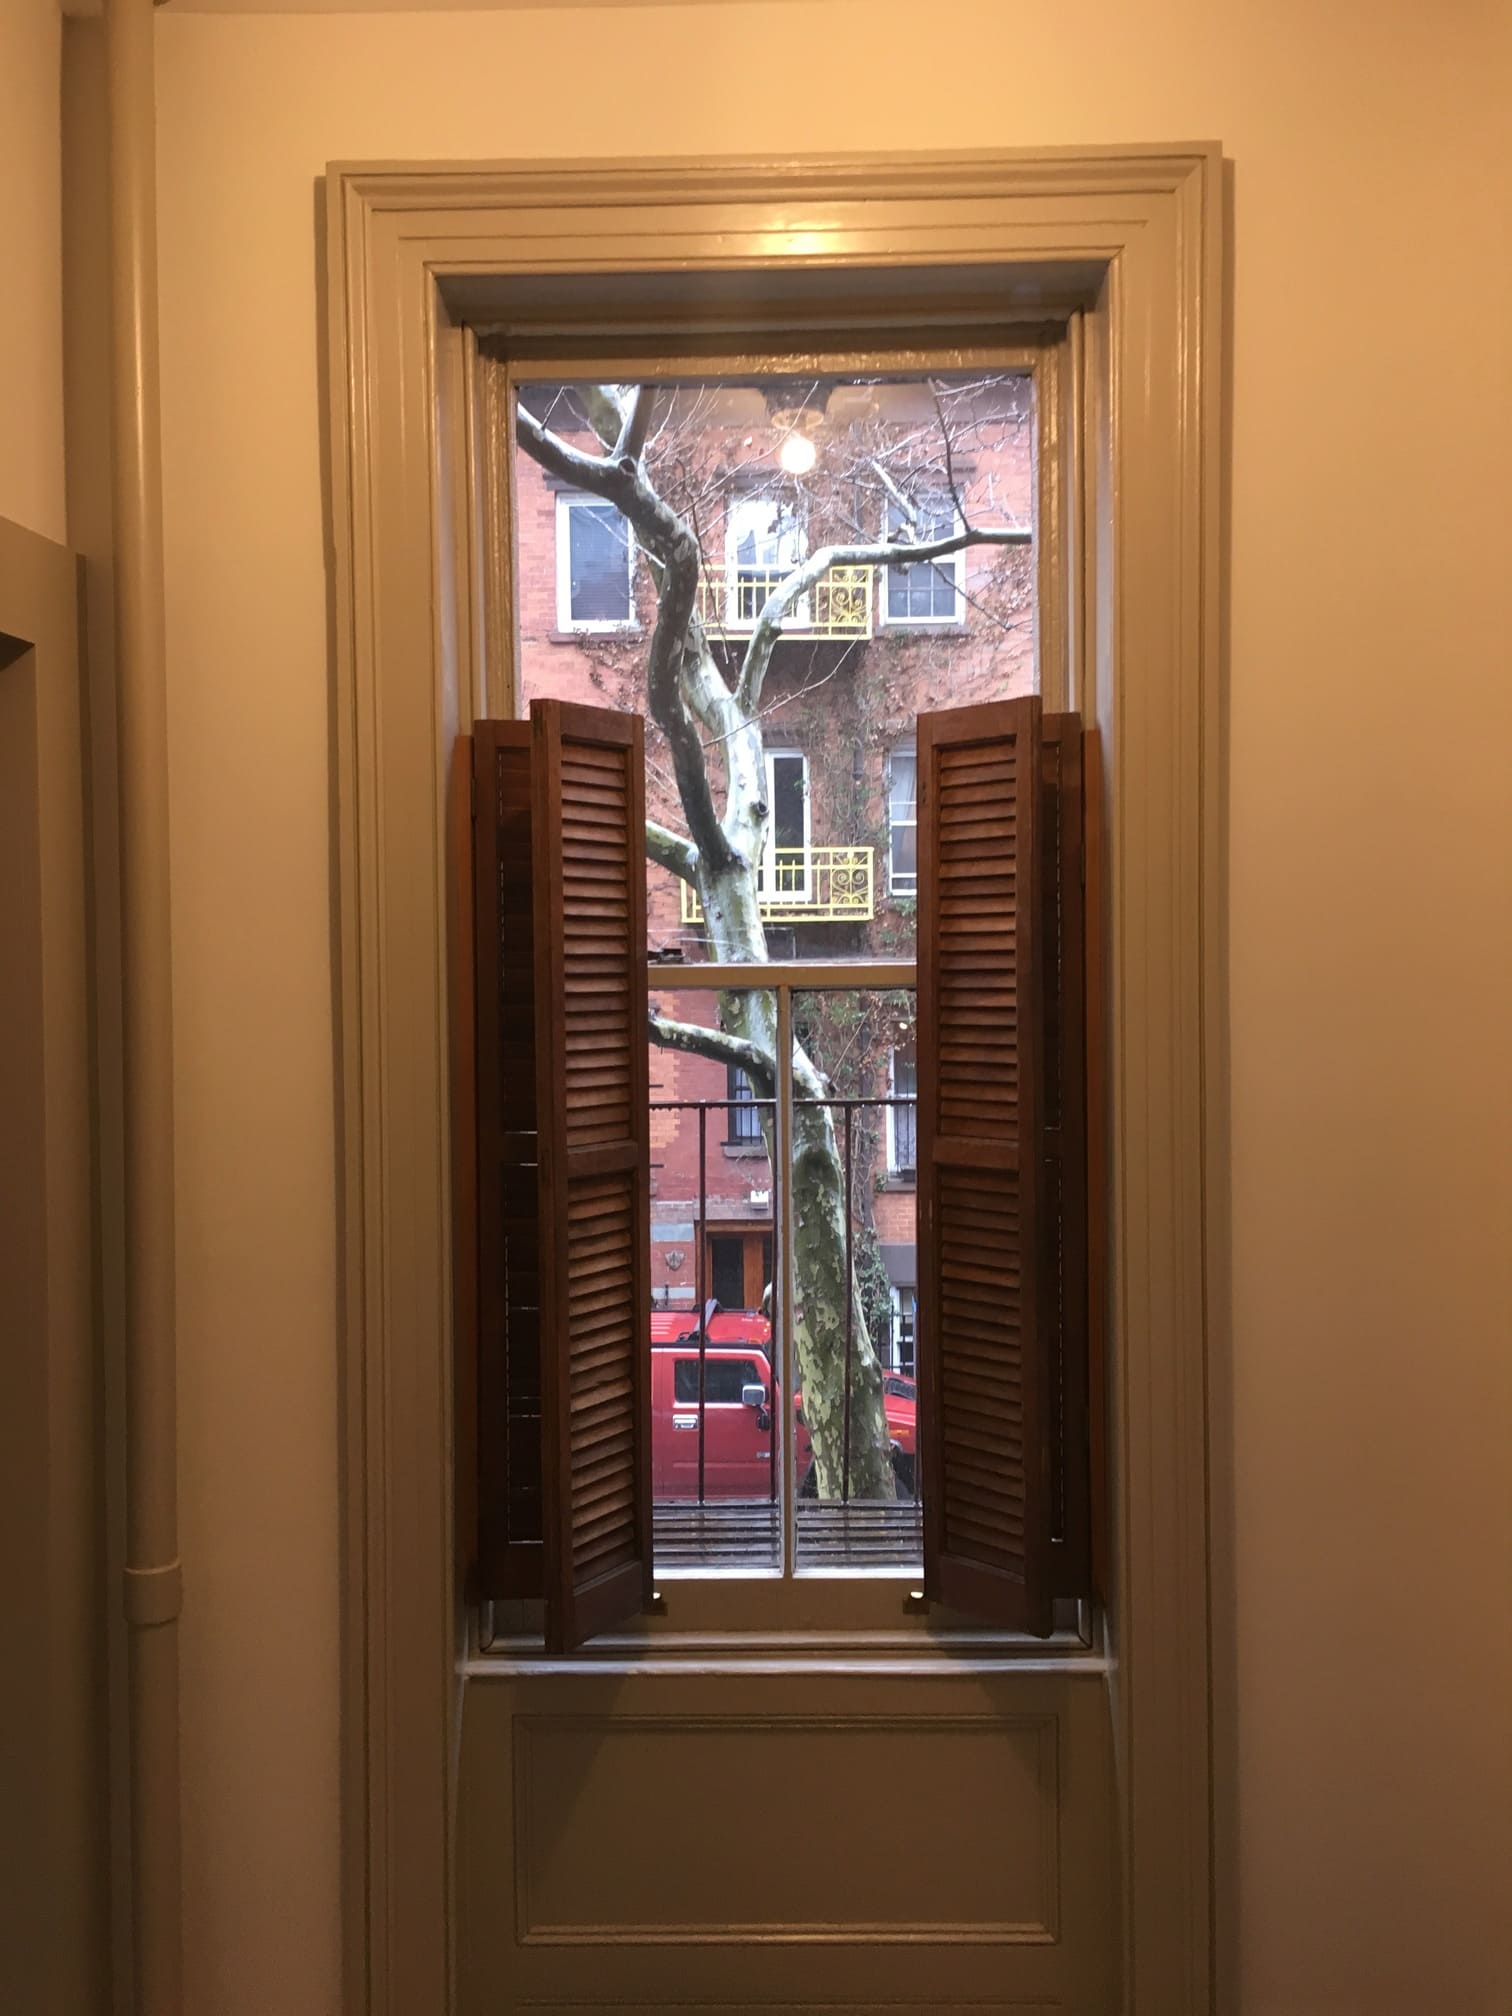
The apt. office window finished with wood shutters installed. This is the final after photo of all the above.
Apartment Kitchen Views
Before

This early kitchen photo shows the original corner floor to ceiling built in kitchen cabinet with upper door and lower door (later preserved).
Before
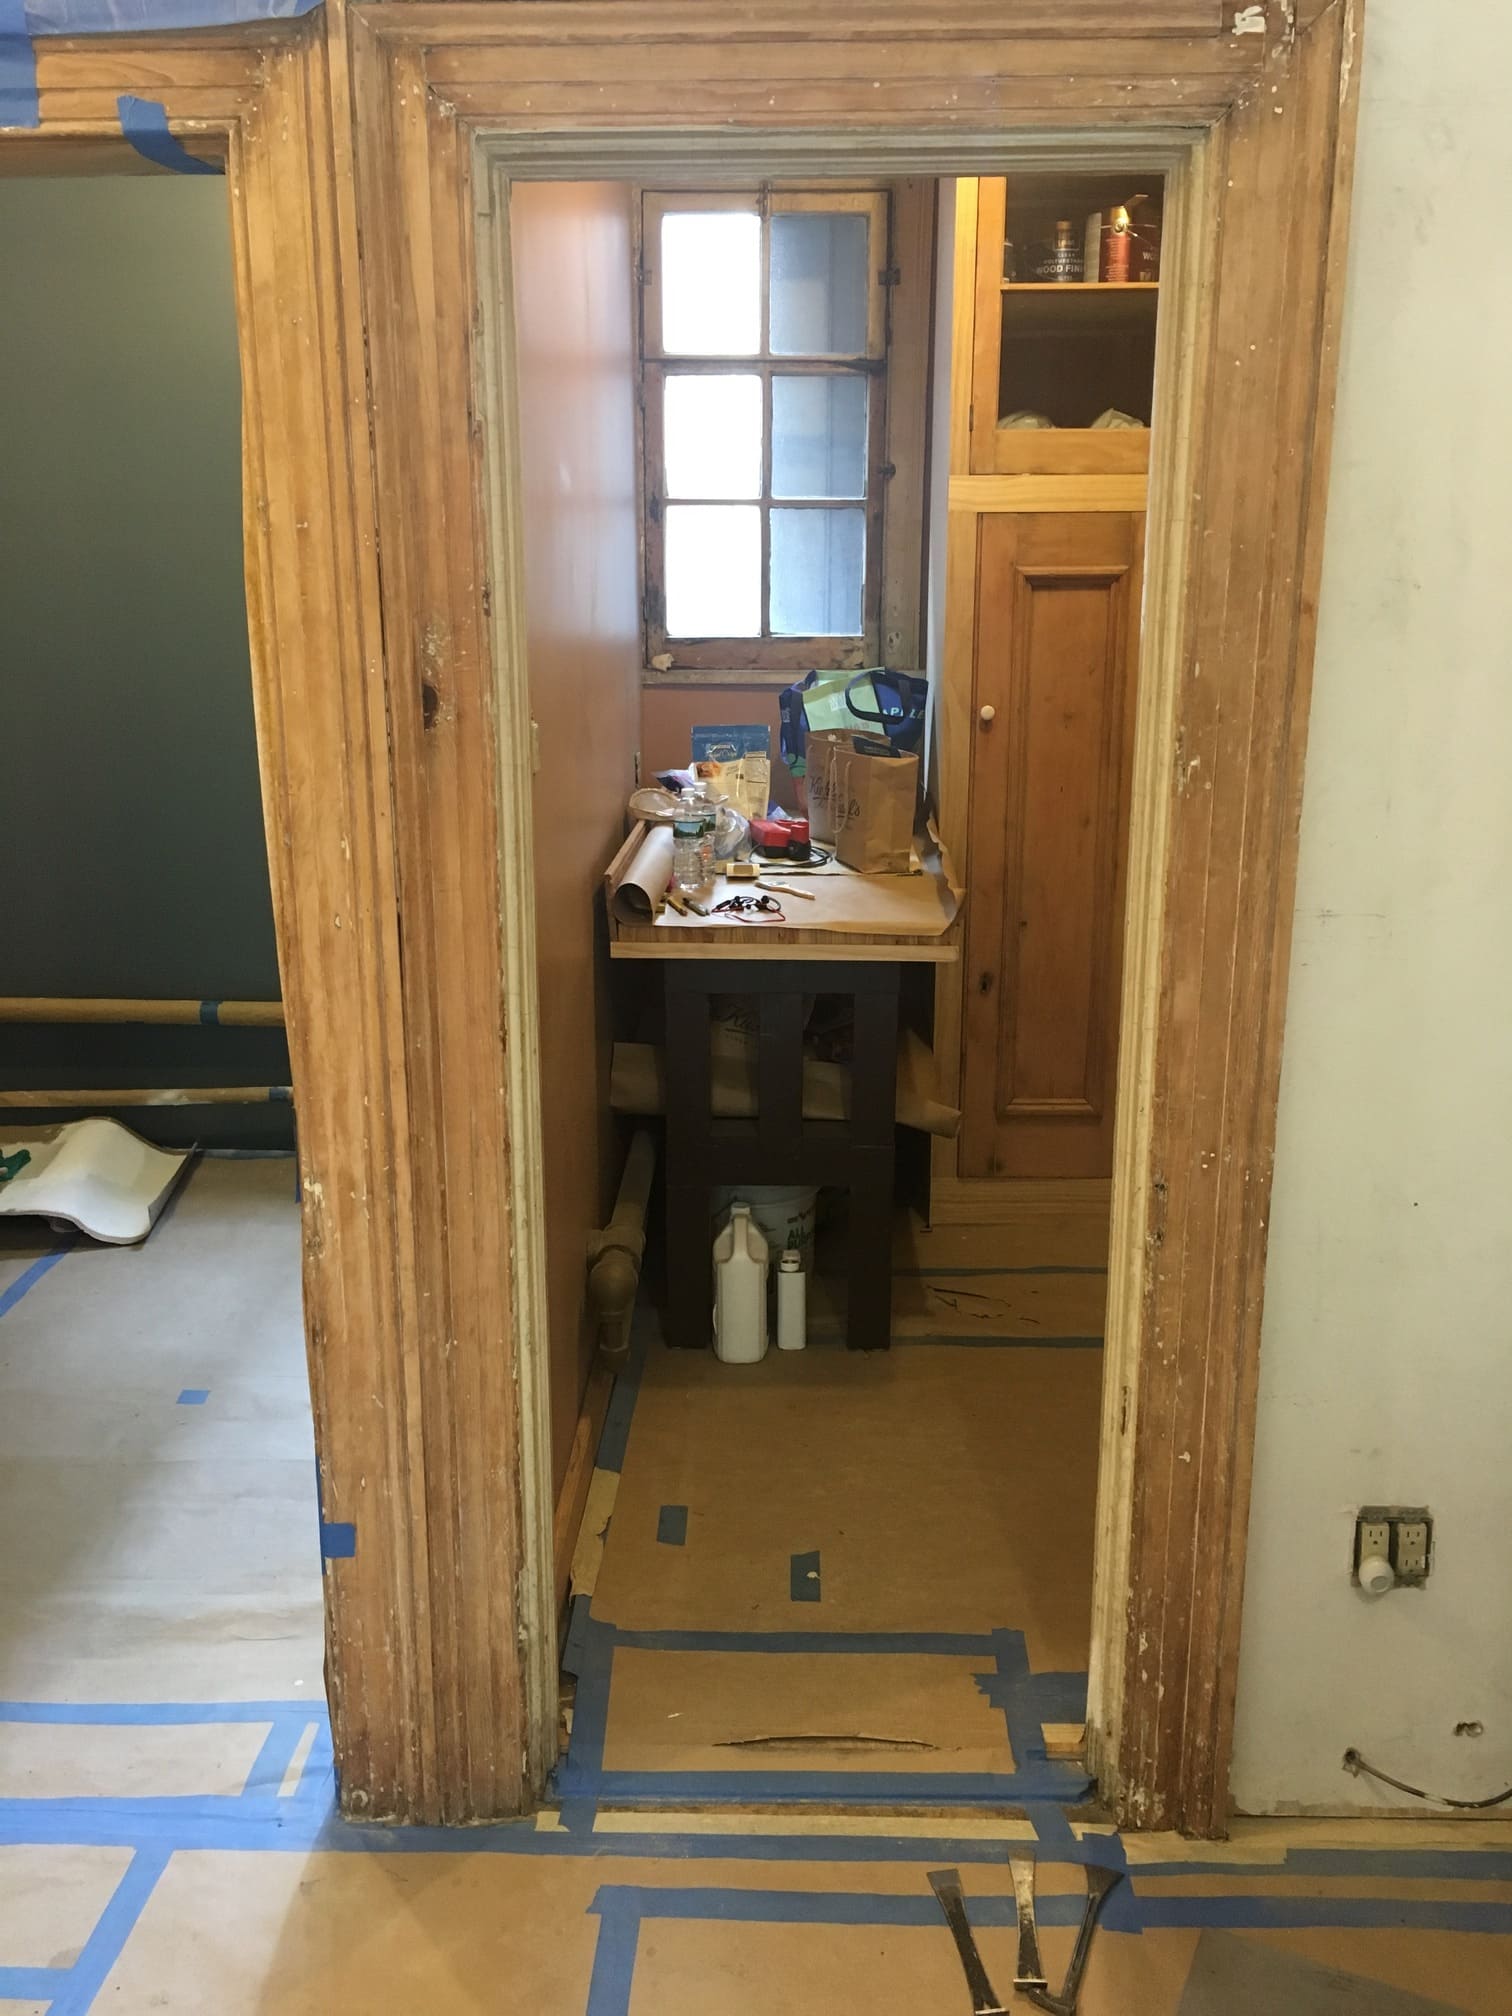
The picture shows the bedroom through the double door opening, (from living room view) without bed platform and kitchen window as it was, (unpainted). This photo also shows the new floor to ceiling cabinet made in the new location with the doors from the older one paint removed and installed in the new as they were originally, (panes on top and solid panels below).
After

This photo is the finished apartment with the bed platform complete; the paint is finished everywhere including the bedroom and kitchen windows. To the left of the floor to ceiling kitchen cabinet is a wooden end-cut larch butcher block counter over a reclaimed item repaired and painted as the base for the counter end to window facing out to door opening.
Kitchen Window
After

This photo shows weather stripping and screen in the kitchen.

Closer image of the kitchen window.
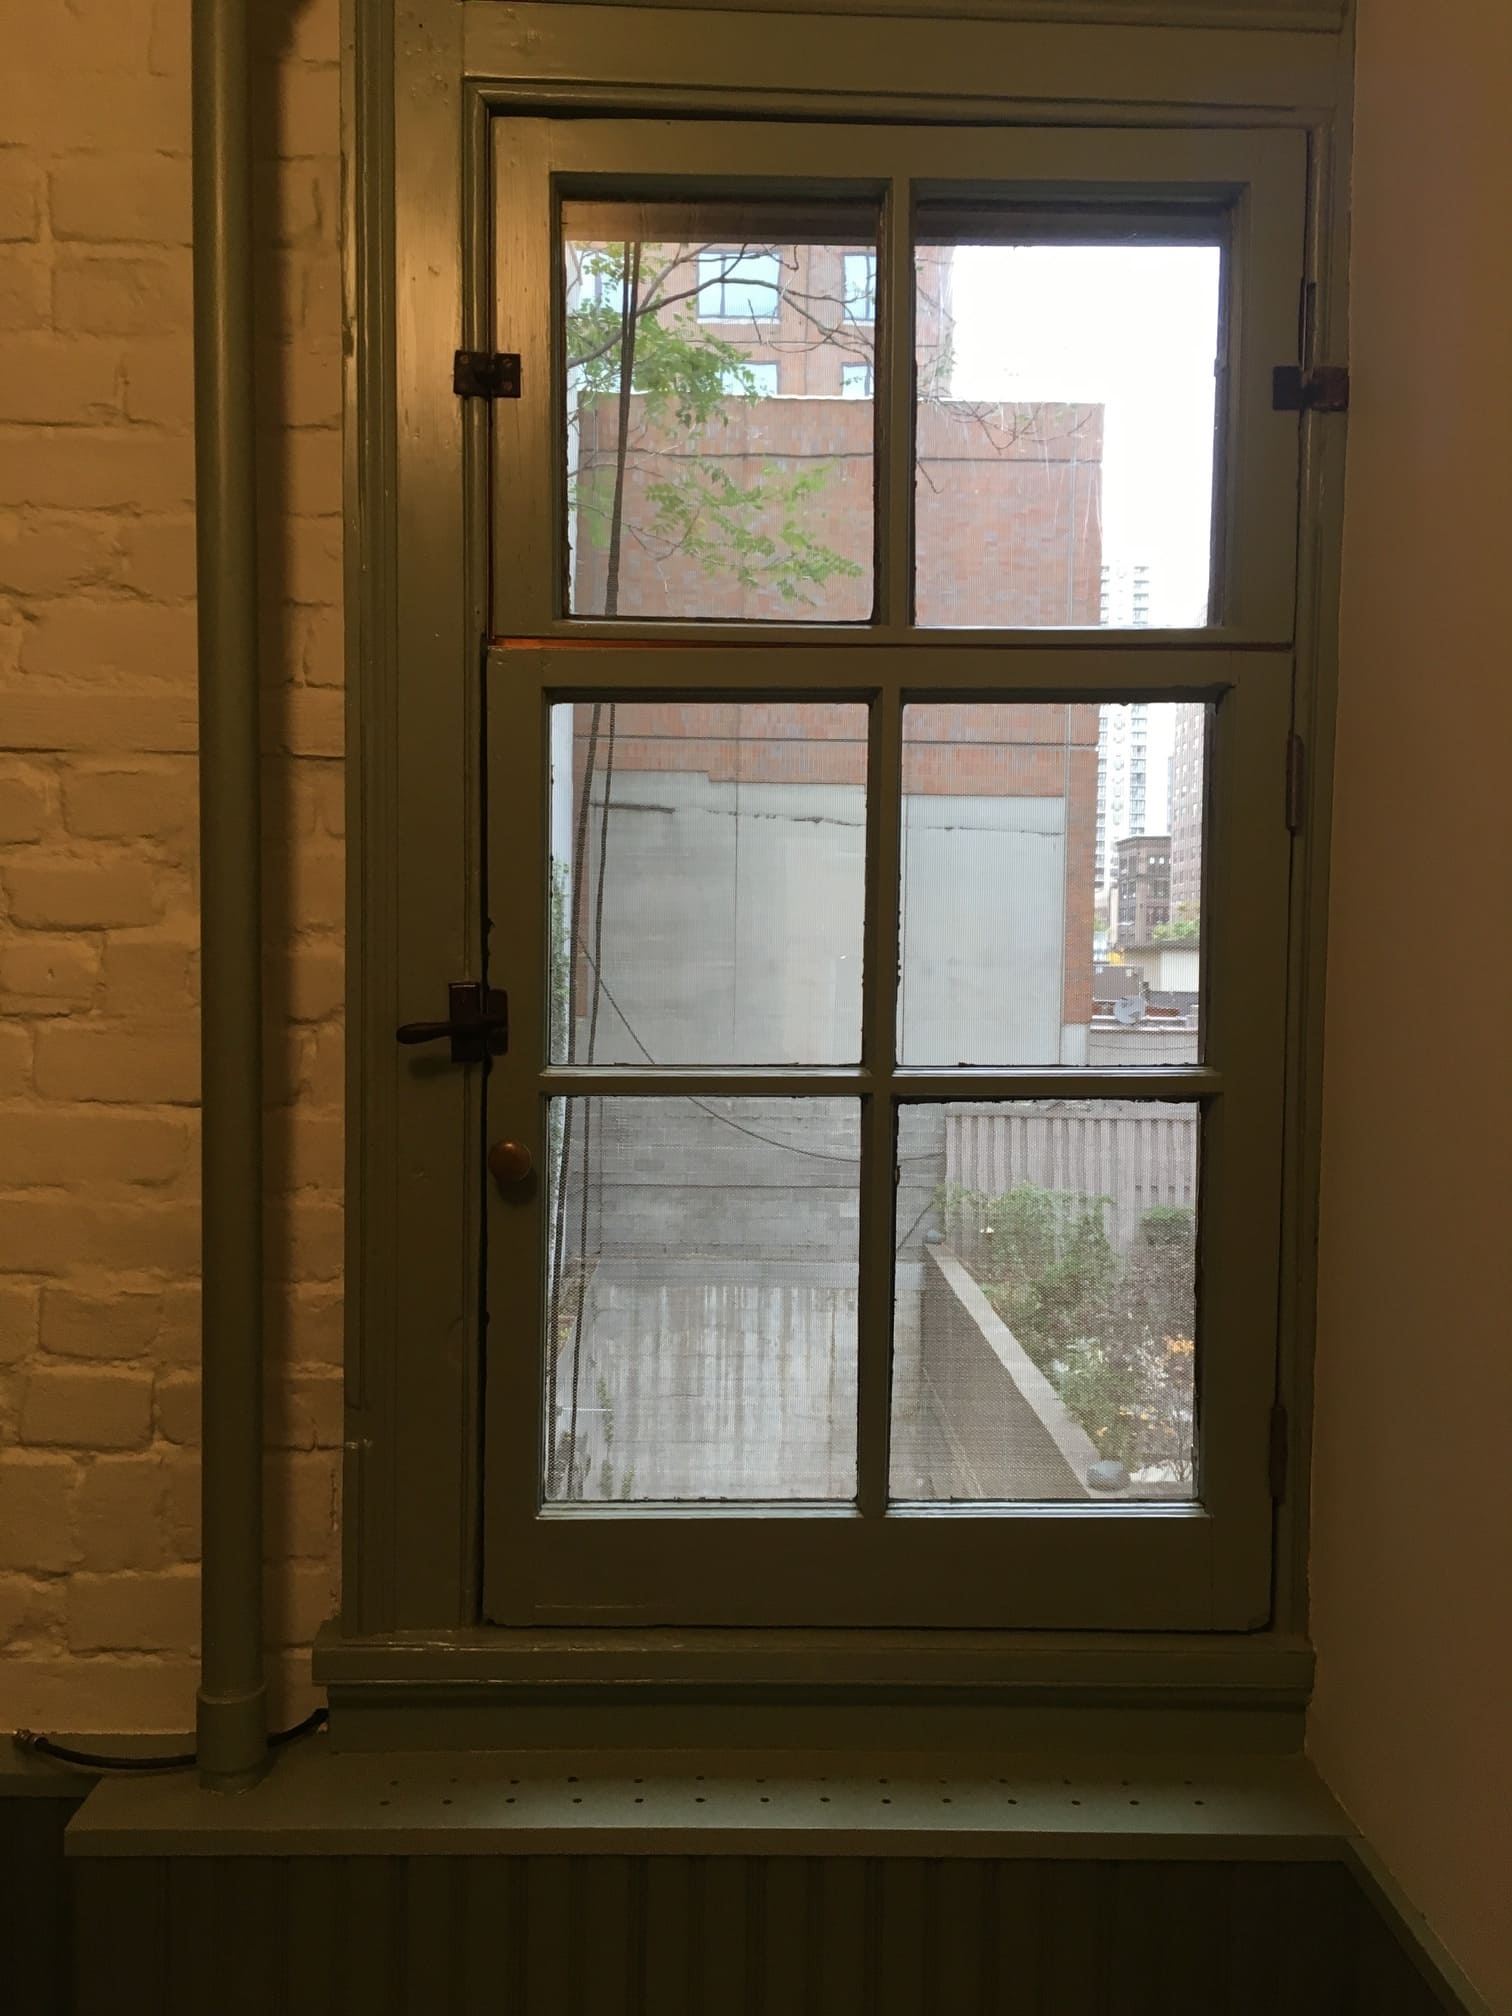
Photo of the kitchen windows shut and the hardware shown with new paint work.
Cornell’s Store Bathroom
Before
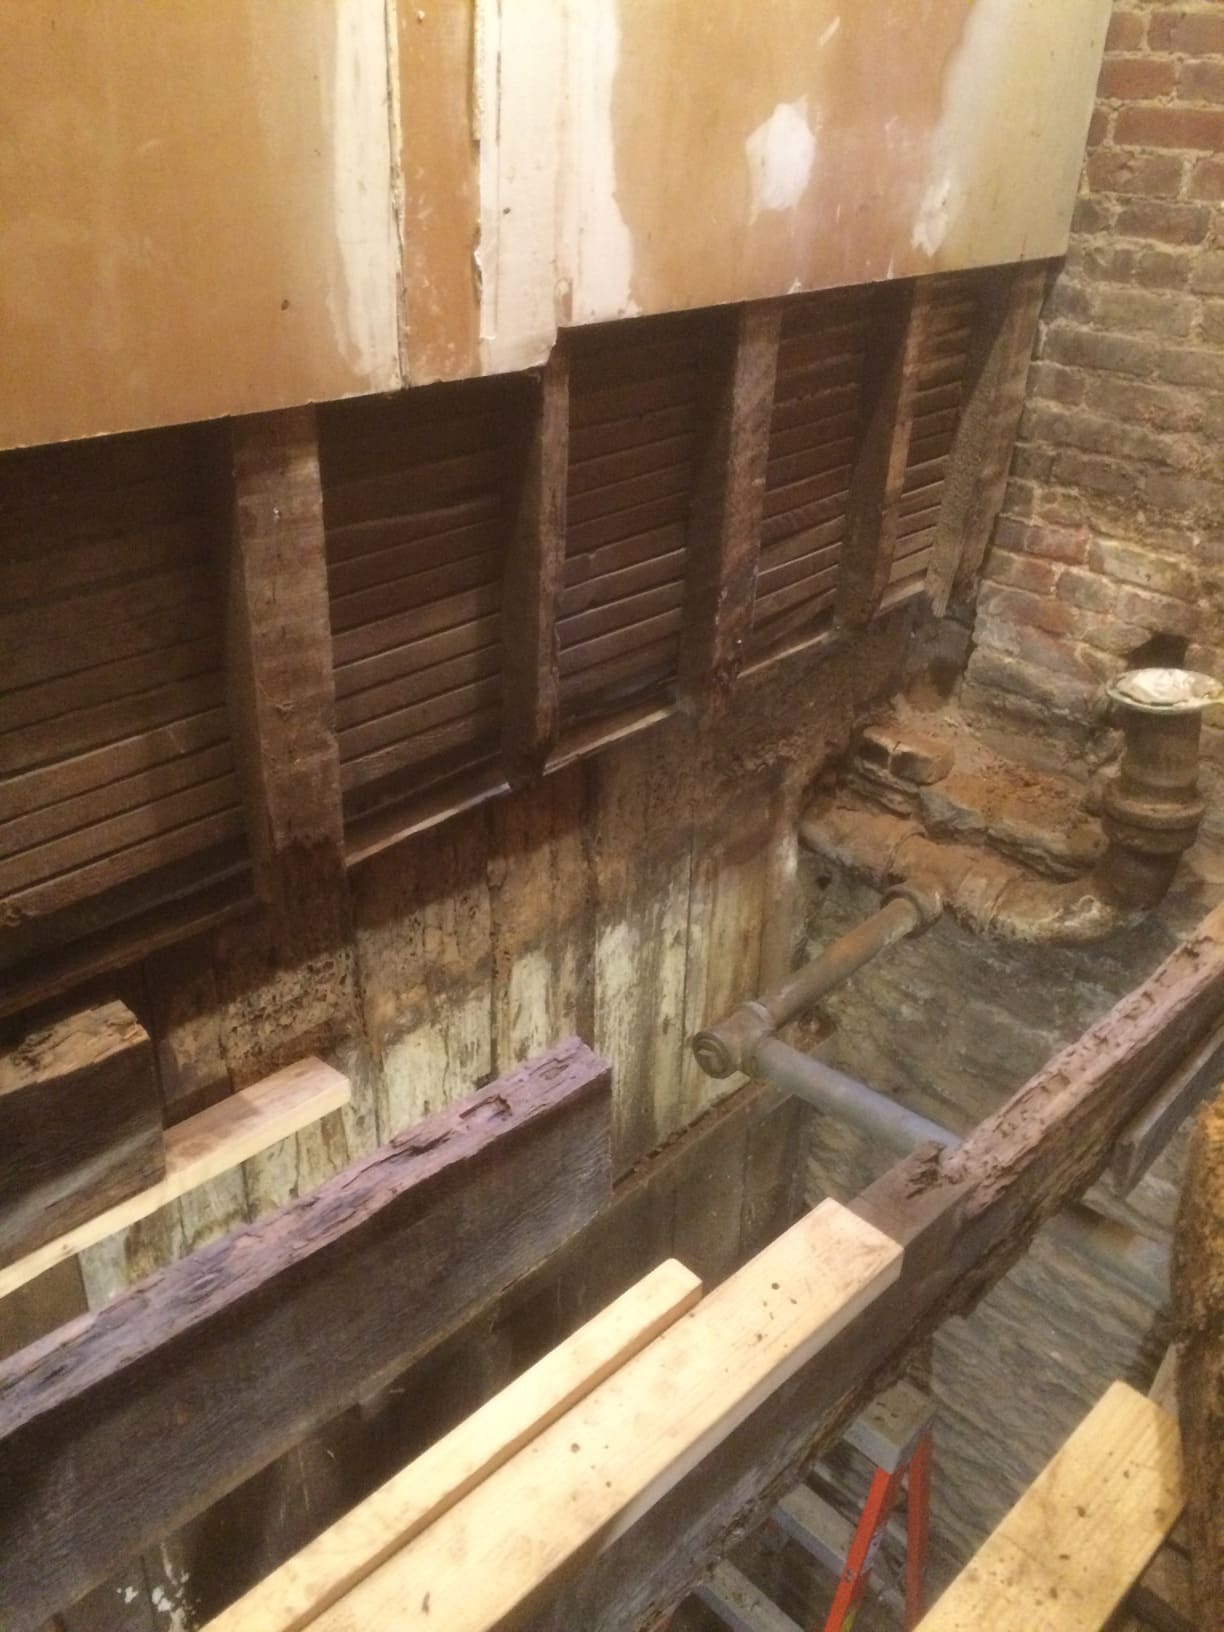
In this photo the old wall brick work is intact. Rotted joists and other decayed materials have been removed.
Before
Another before picture showing the old wall brick and rotted joists.
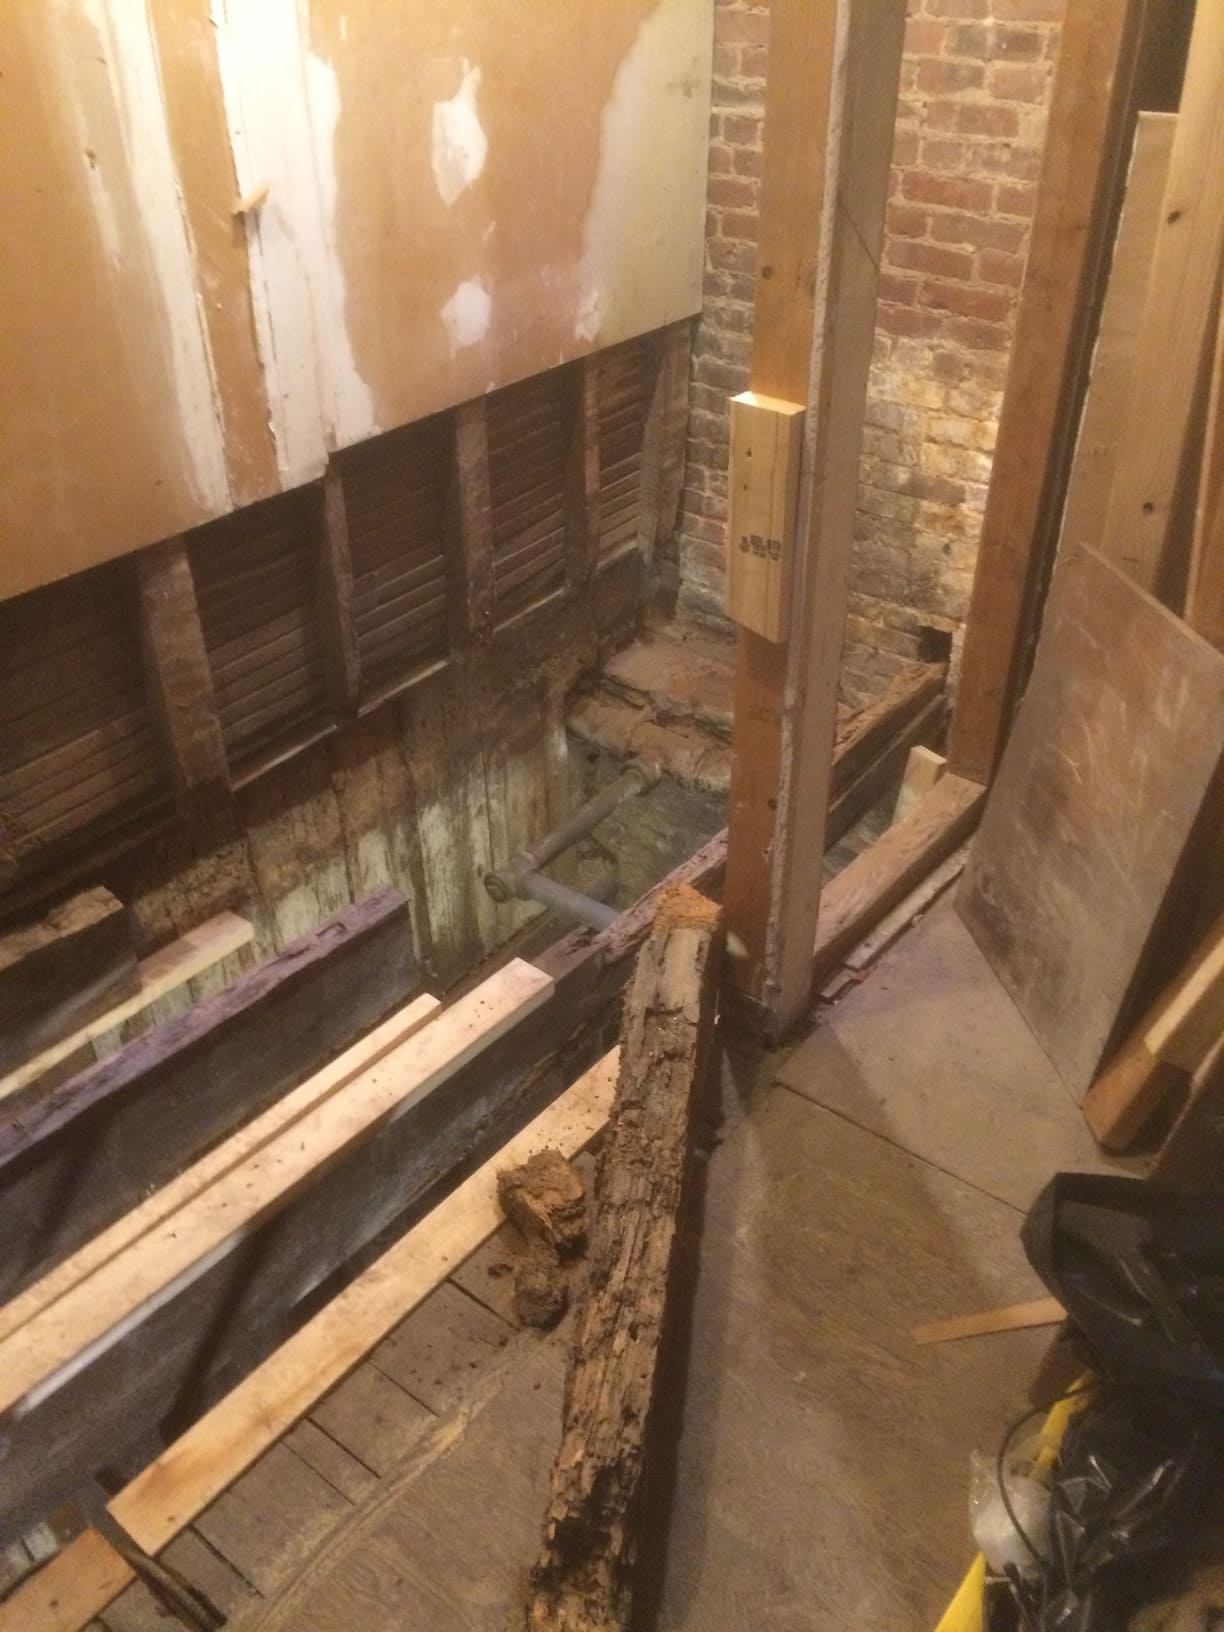
Before
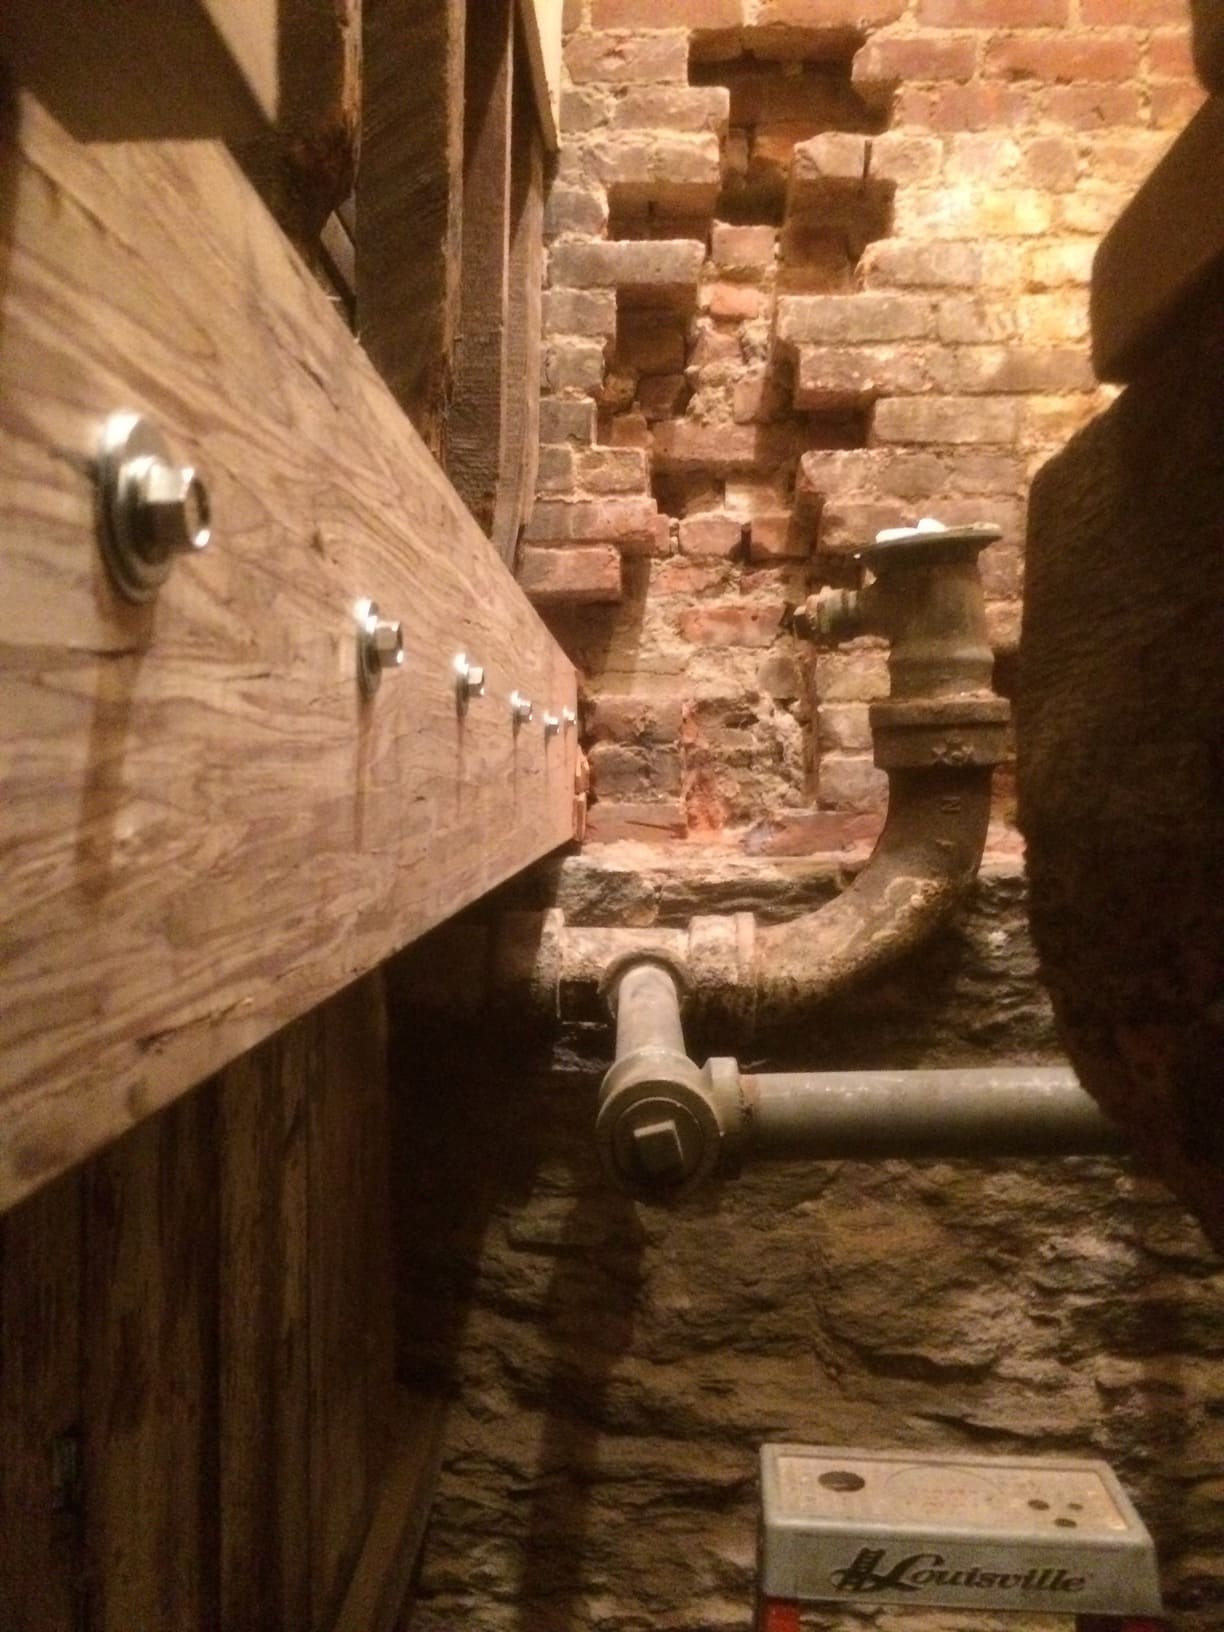
In the photo the joist work has begun, (left side of photo). The bricks needed to be removed in order to slip joist in place.
After

This an aerial after photo of the completed work.
Park Ave Penthouse
Before
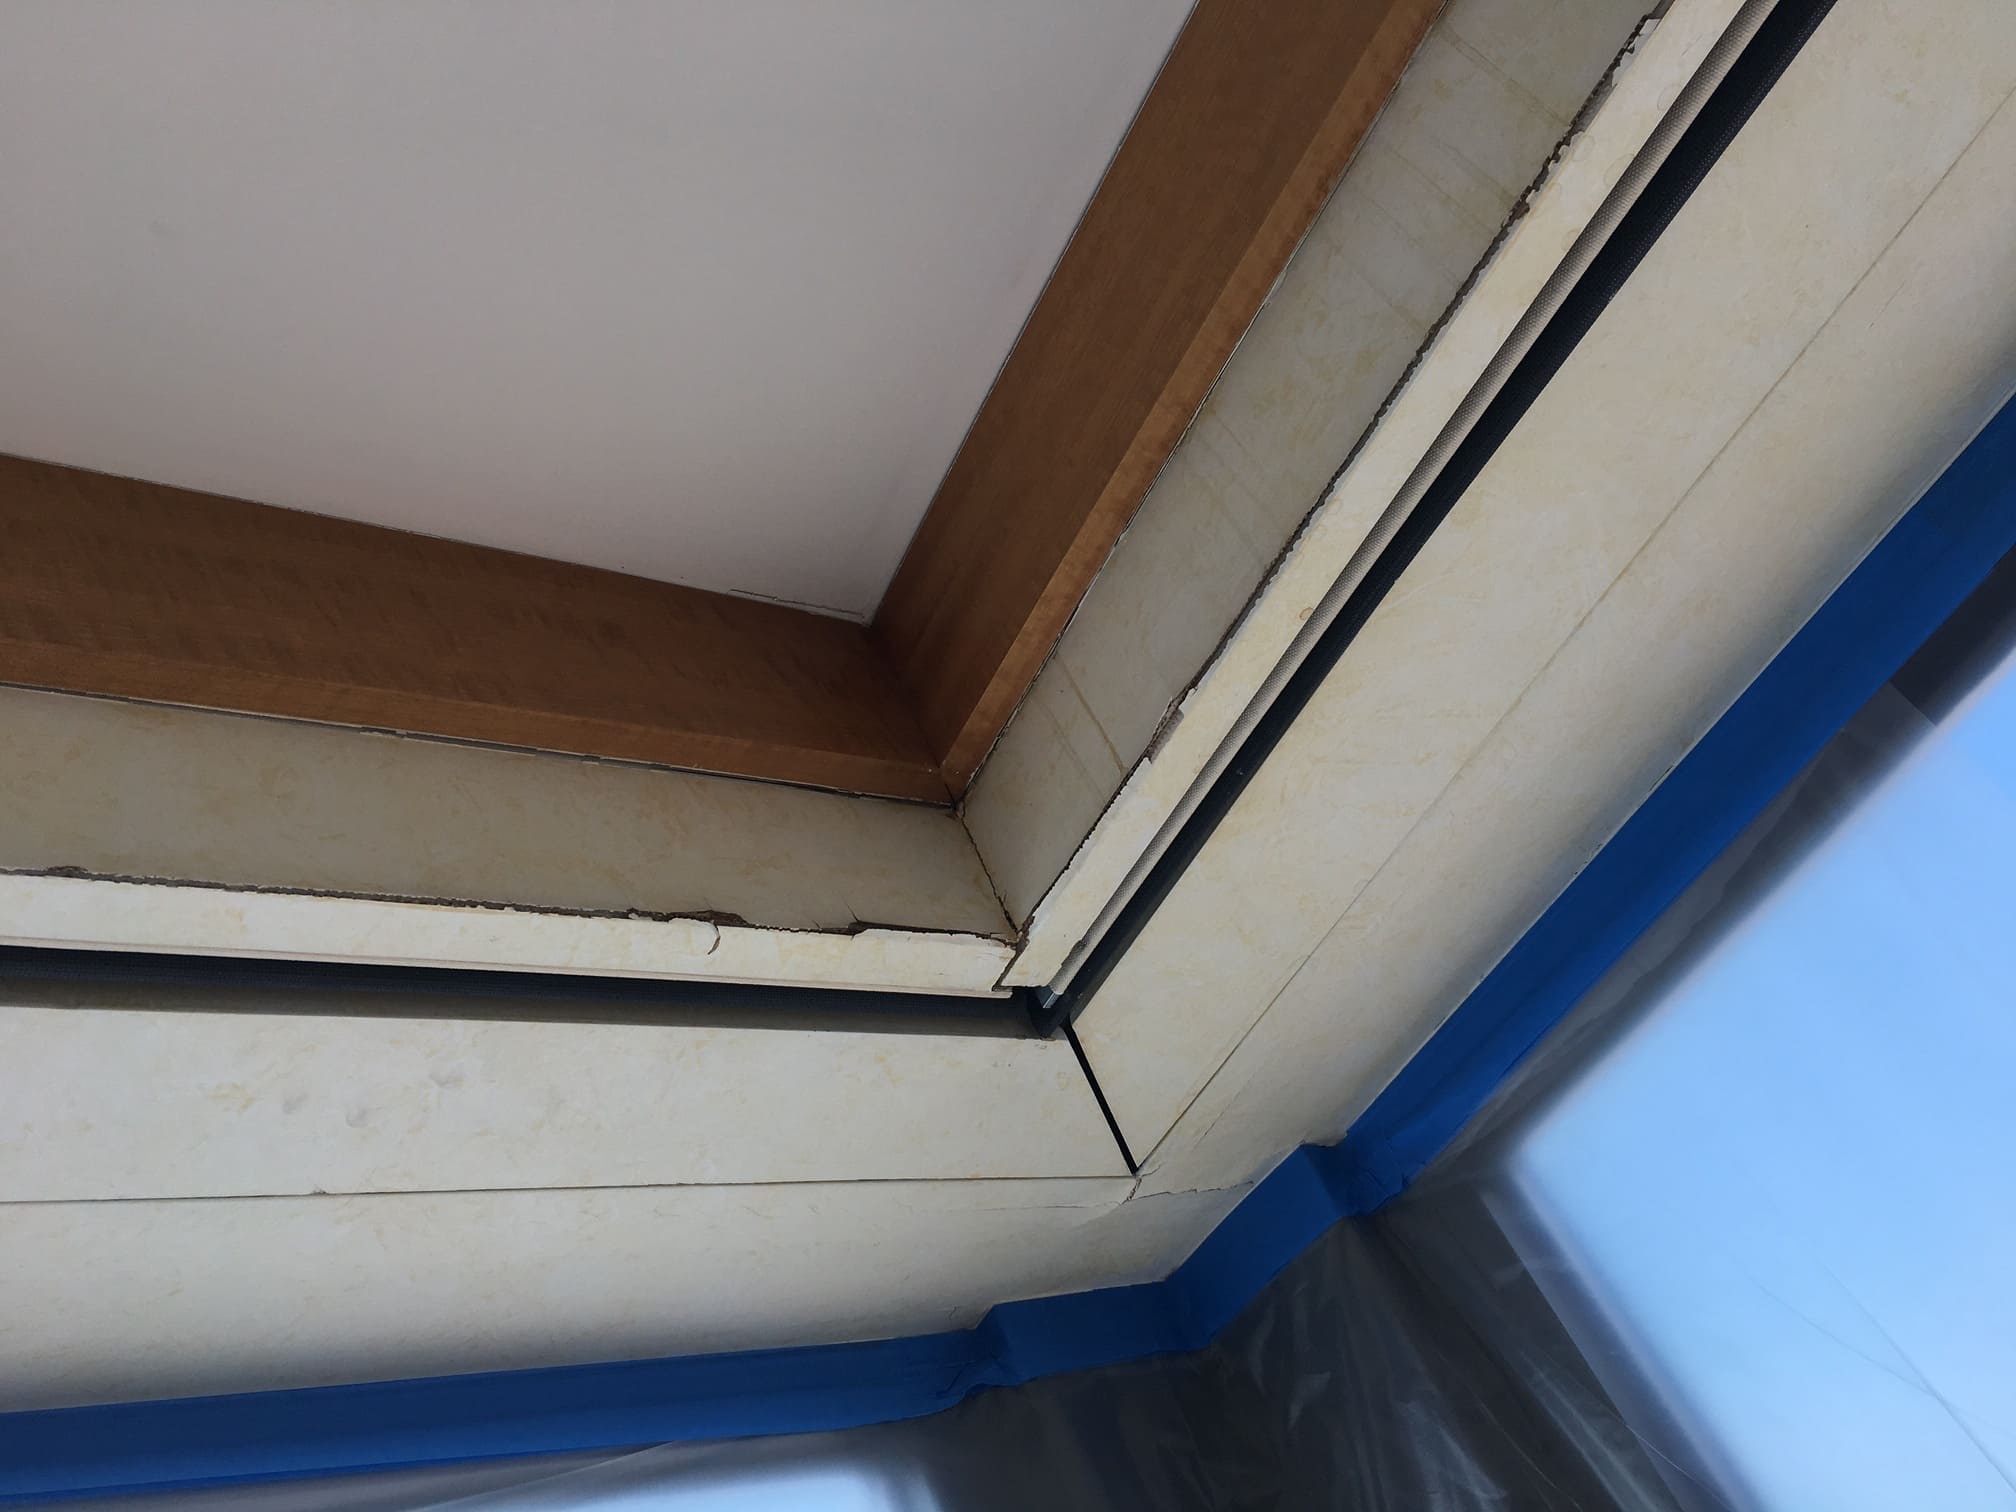
This photo shows ceiling water damage to soffit; containing shades and blinds on rollers with mill work covers.
Before
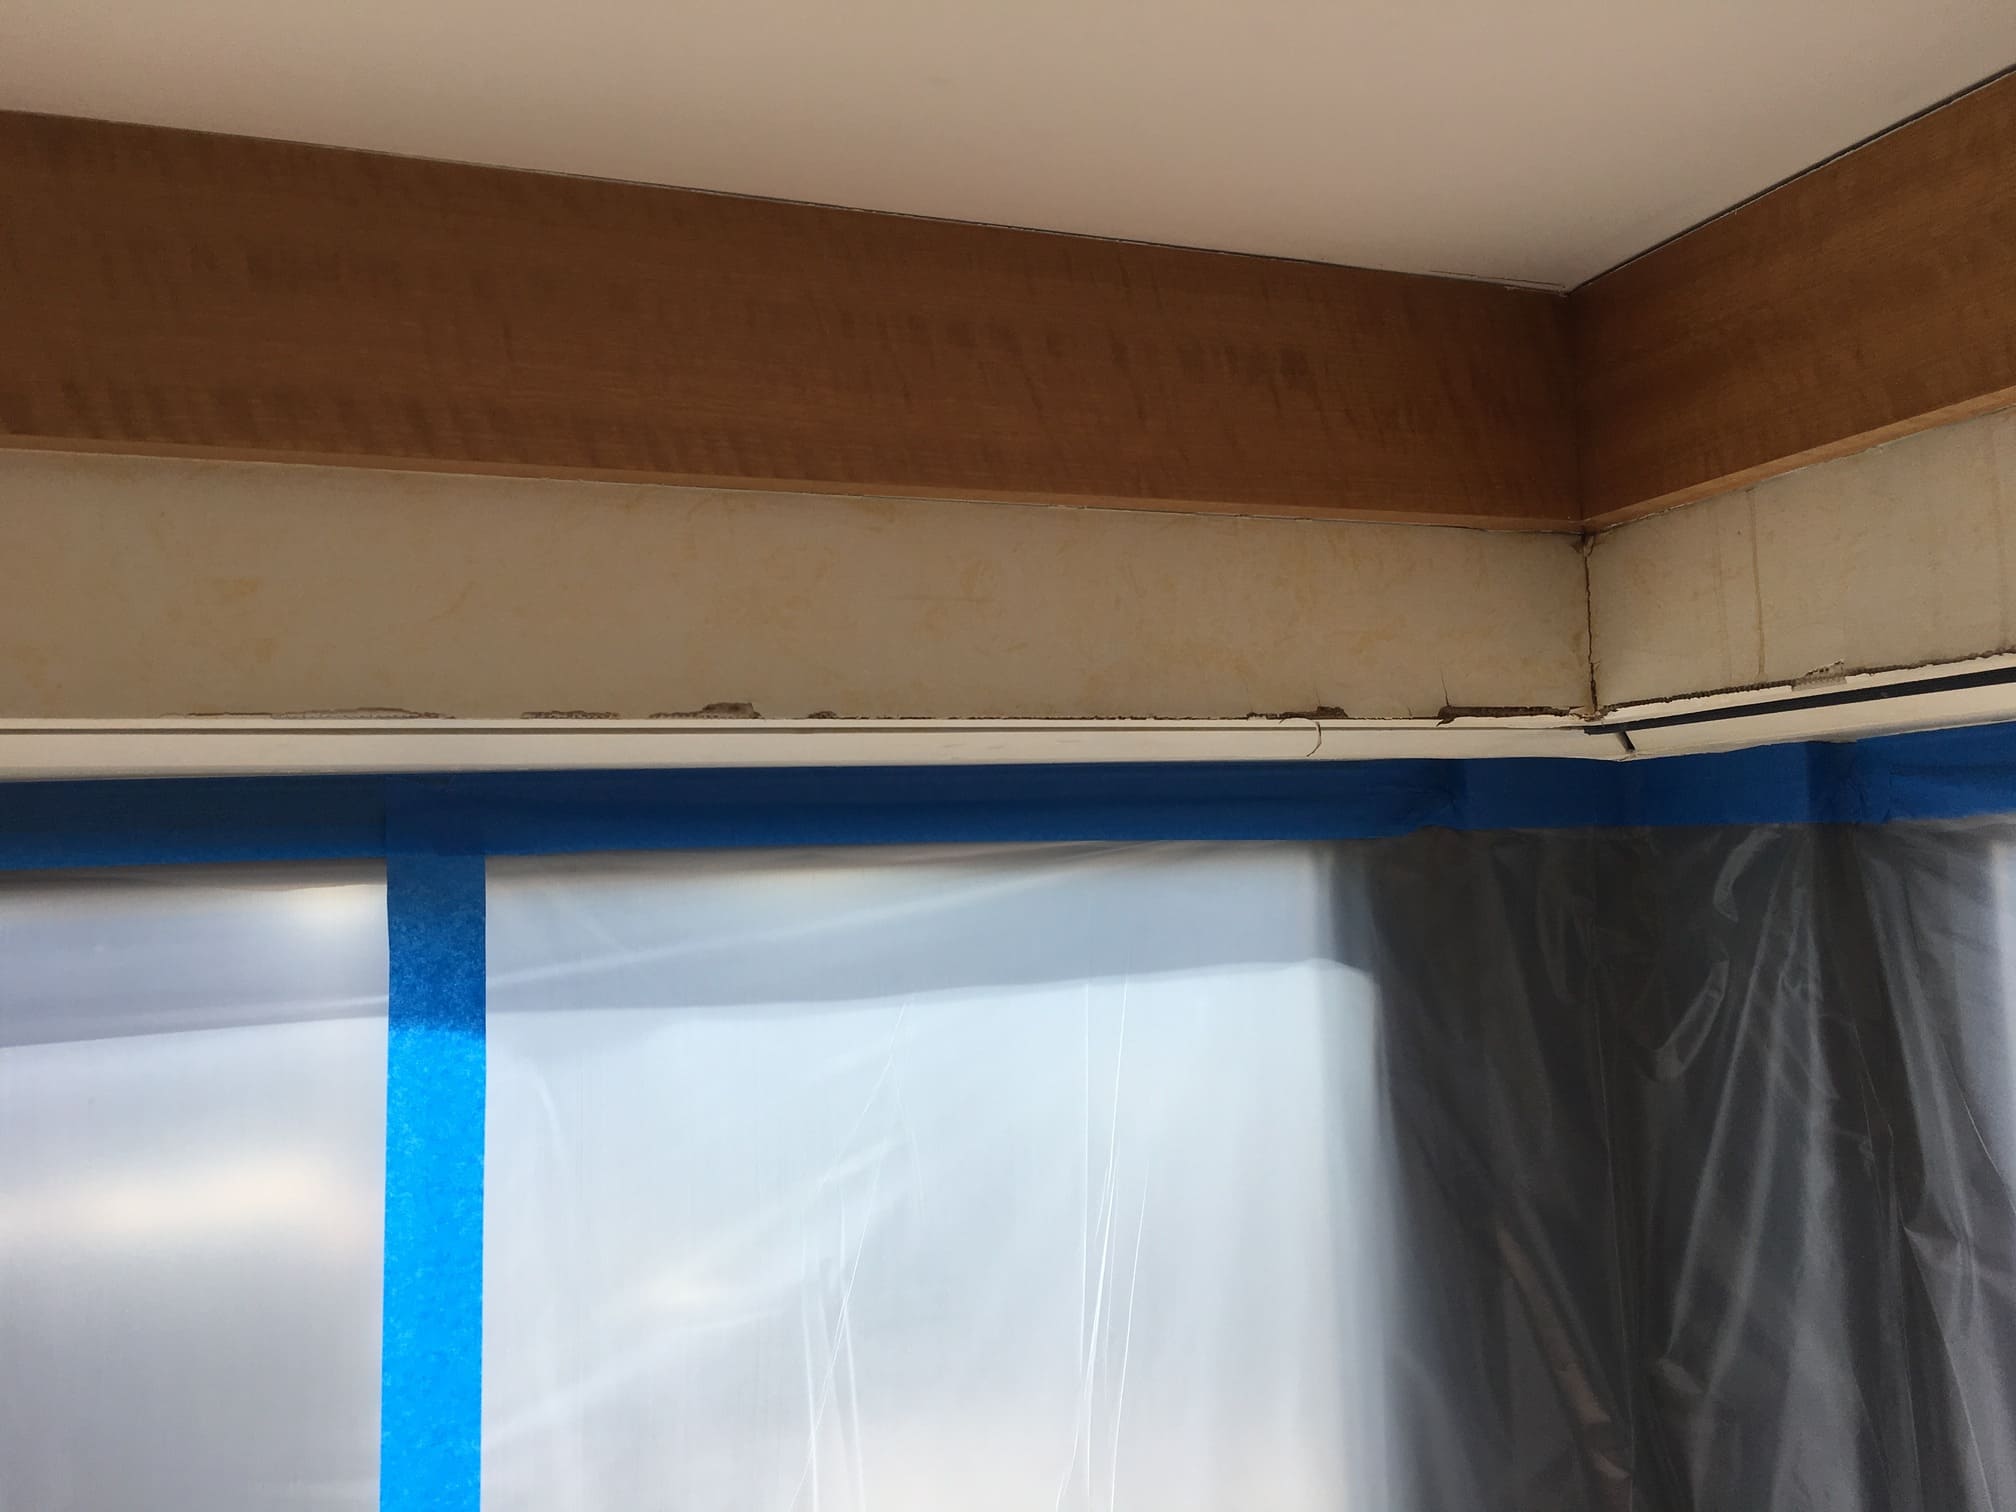
This is another photo showing ceiling water damage to soffit; containing shades and blinds on rollers with mill work covers.
Before

Close up of ceiling water damage to soffit; containing shades and blinds on rollers with mill work covers.
After
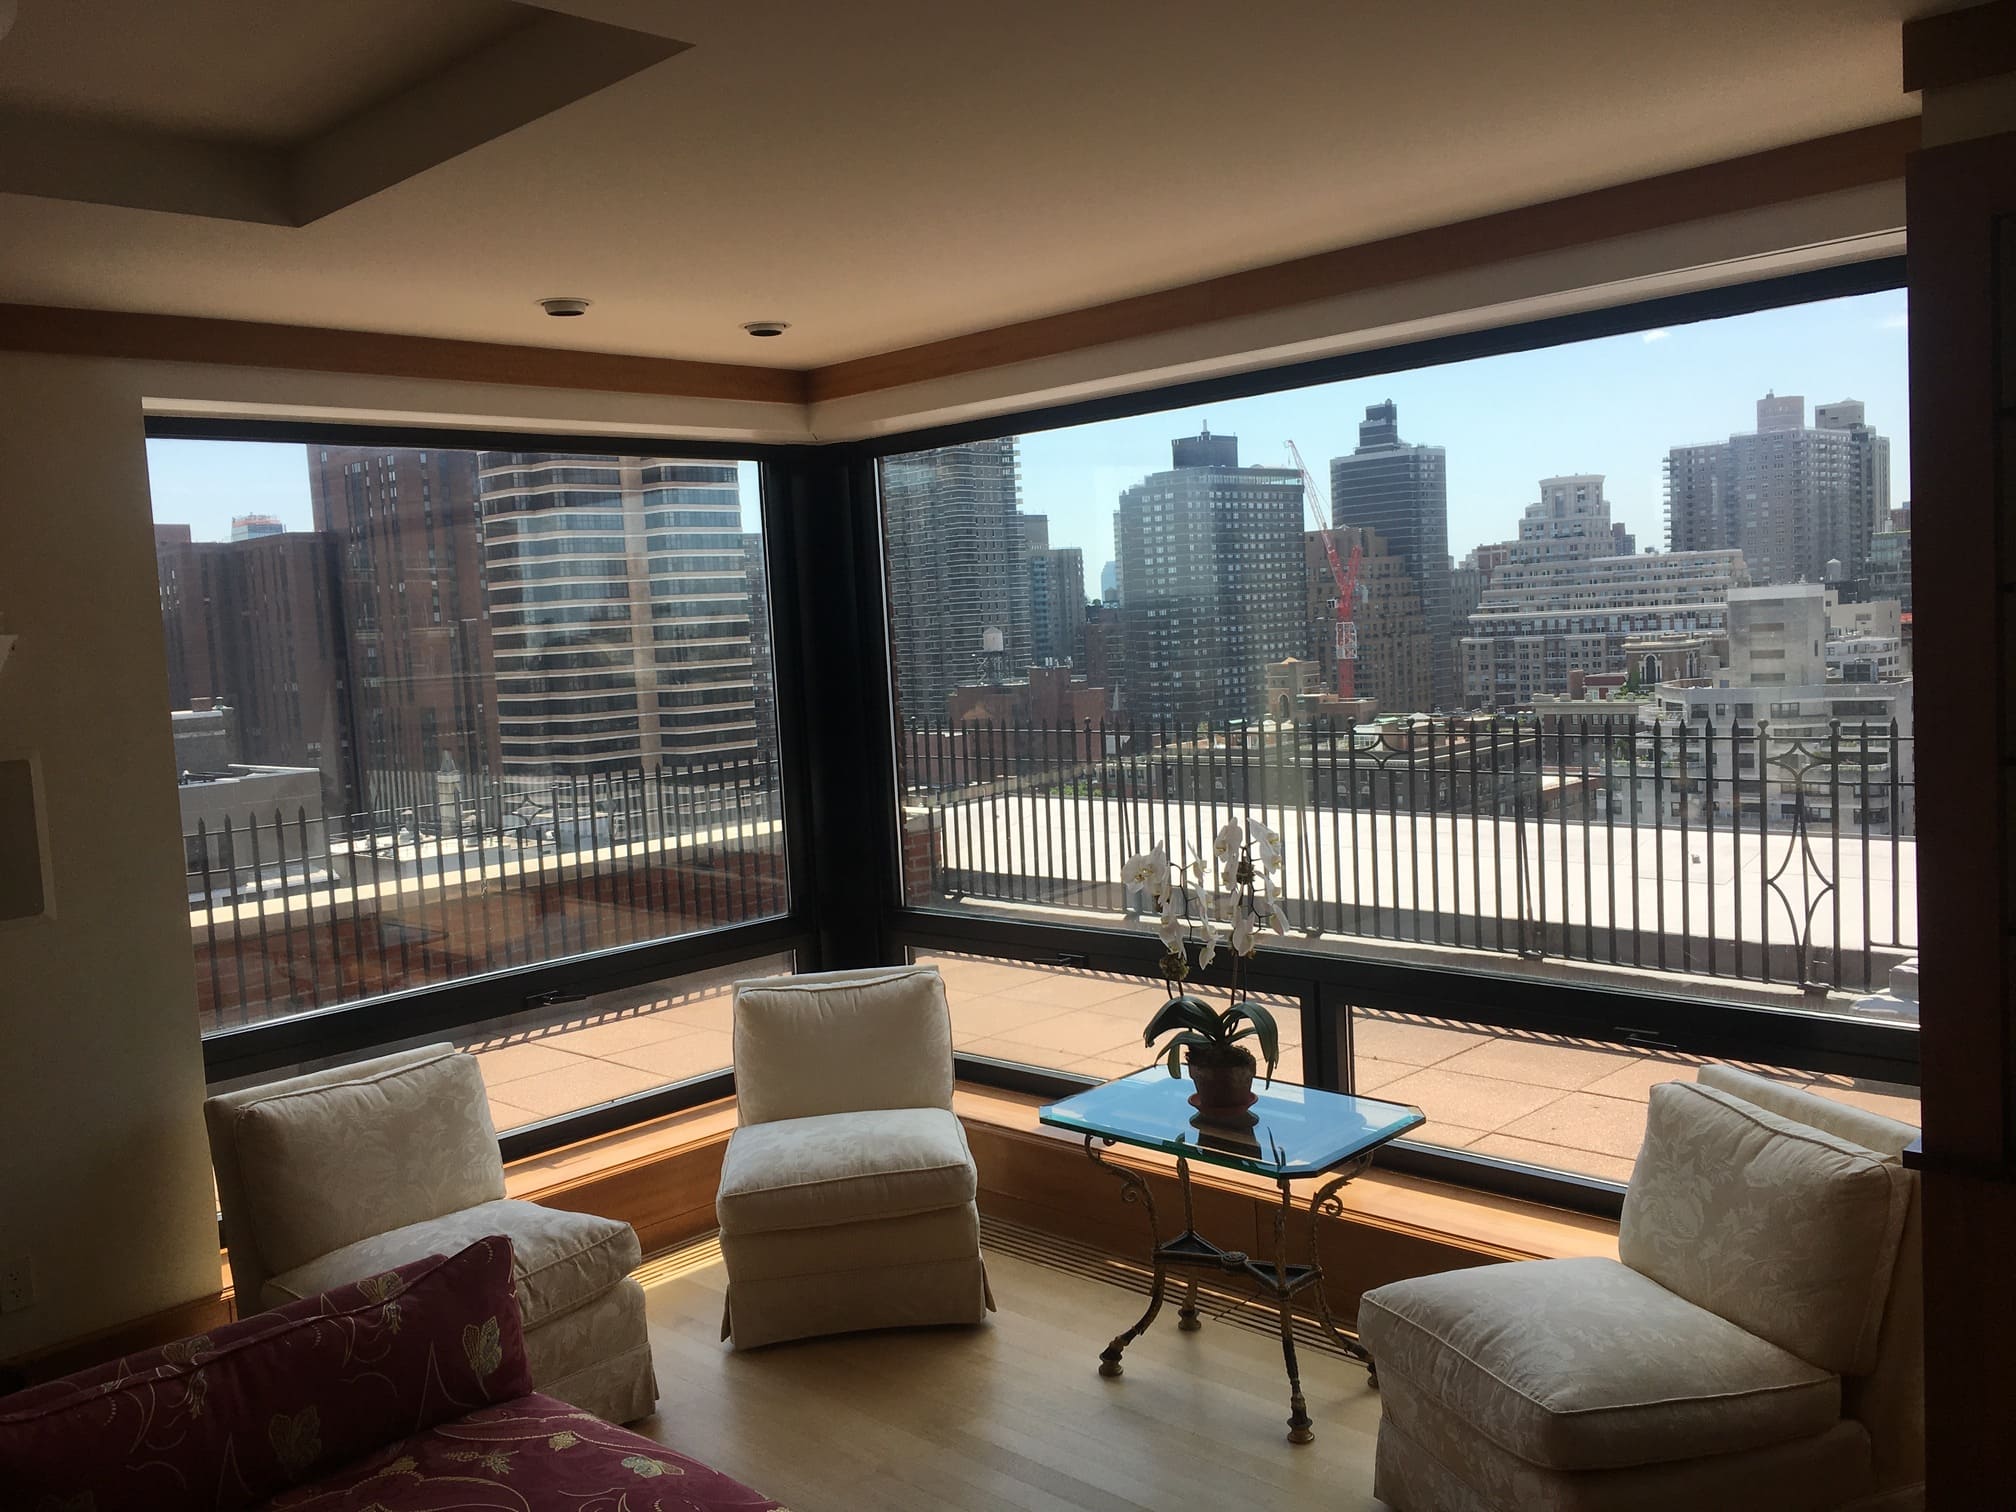
Here is a wide angle shot of the Park Ave Penthouse, completely restored up to primer paint, (glaze painting still remaining to be done). Four long rollers containing total black out and regular shades had to be removed with motors and electrical connection and controls connection plus mill work flaps with European hinge hardware in order to do this work. Micro-structural repairs were conducted hidden by the soffit, (without damaging outer sheet rock ceiling work) and all connecting corner beads and plaster beads repaired, (some replaced) and plastered in and primed for painter. I worked with the shade man to get the rollers back in and working on the Crestron controls properly. This job required all skills imaginable plus magic.
Jackson Heights Apartment
After
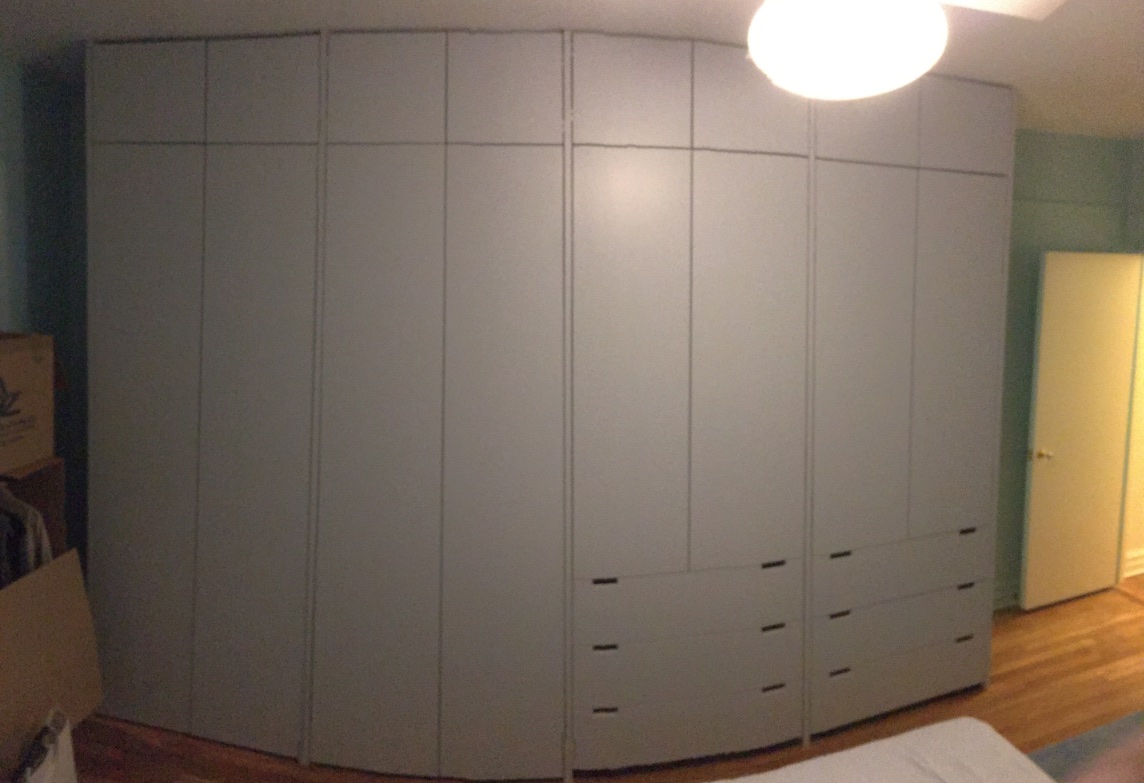
This picture shows a master bedroom floor to ceiling closet with Sugatsune hidden adjustable hinges and lift off door magnets, (no external hardware). Drawers have Blum Tandem drawer slides with Blumotion, (no pulls and self-closing). Mill work constructed from 1” and ¾” furniture grade Canadian birch plywood rock maple veneered, solid maple edging, and some solid poplar, (wood) edging. All sides shop spray booth finished with 2 component catalyzed lacquer and custom installed, (no damage to existing floor, baseboards or picture molding). Complete storage capacity, all space utilizable. I drew this up by hand and made it in the shop for my client. I installed this on site as well.
After
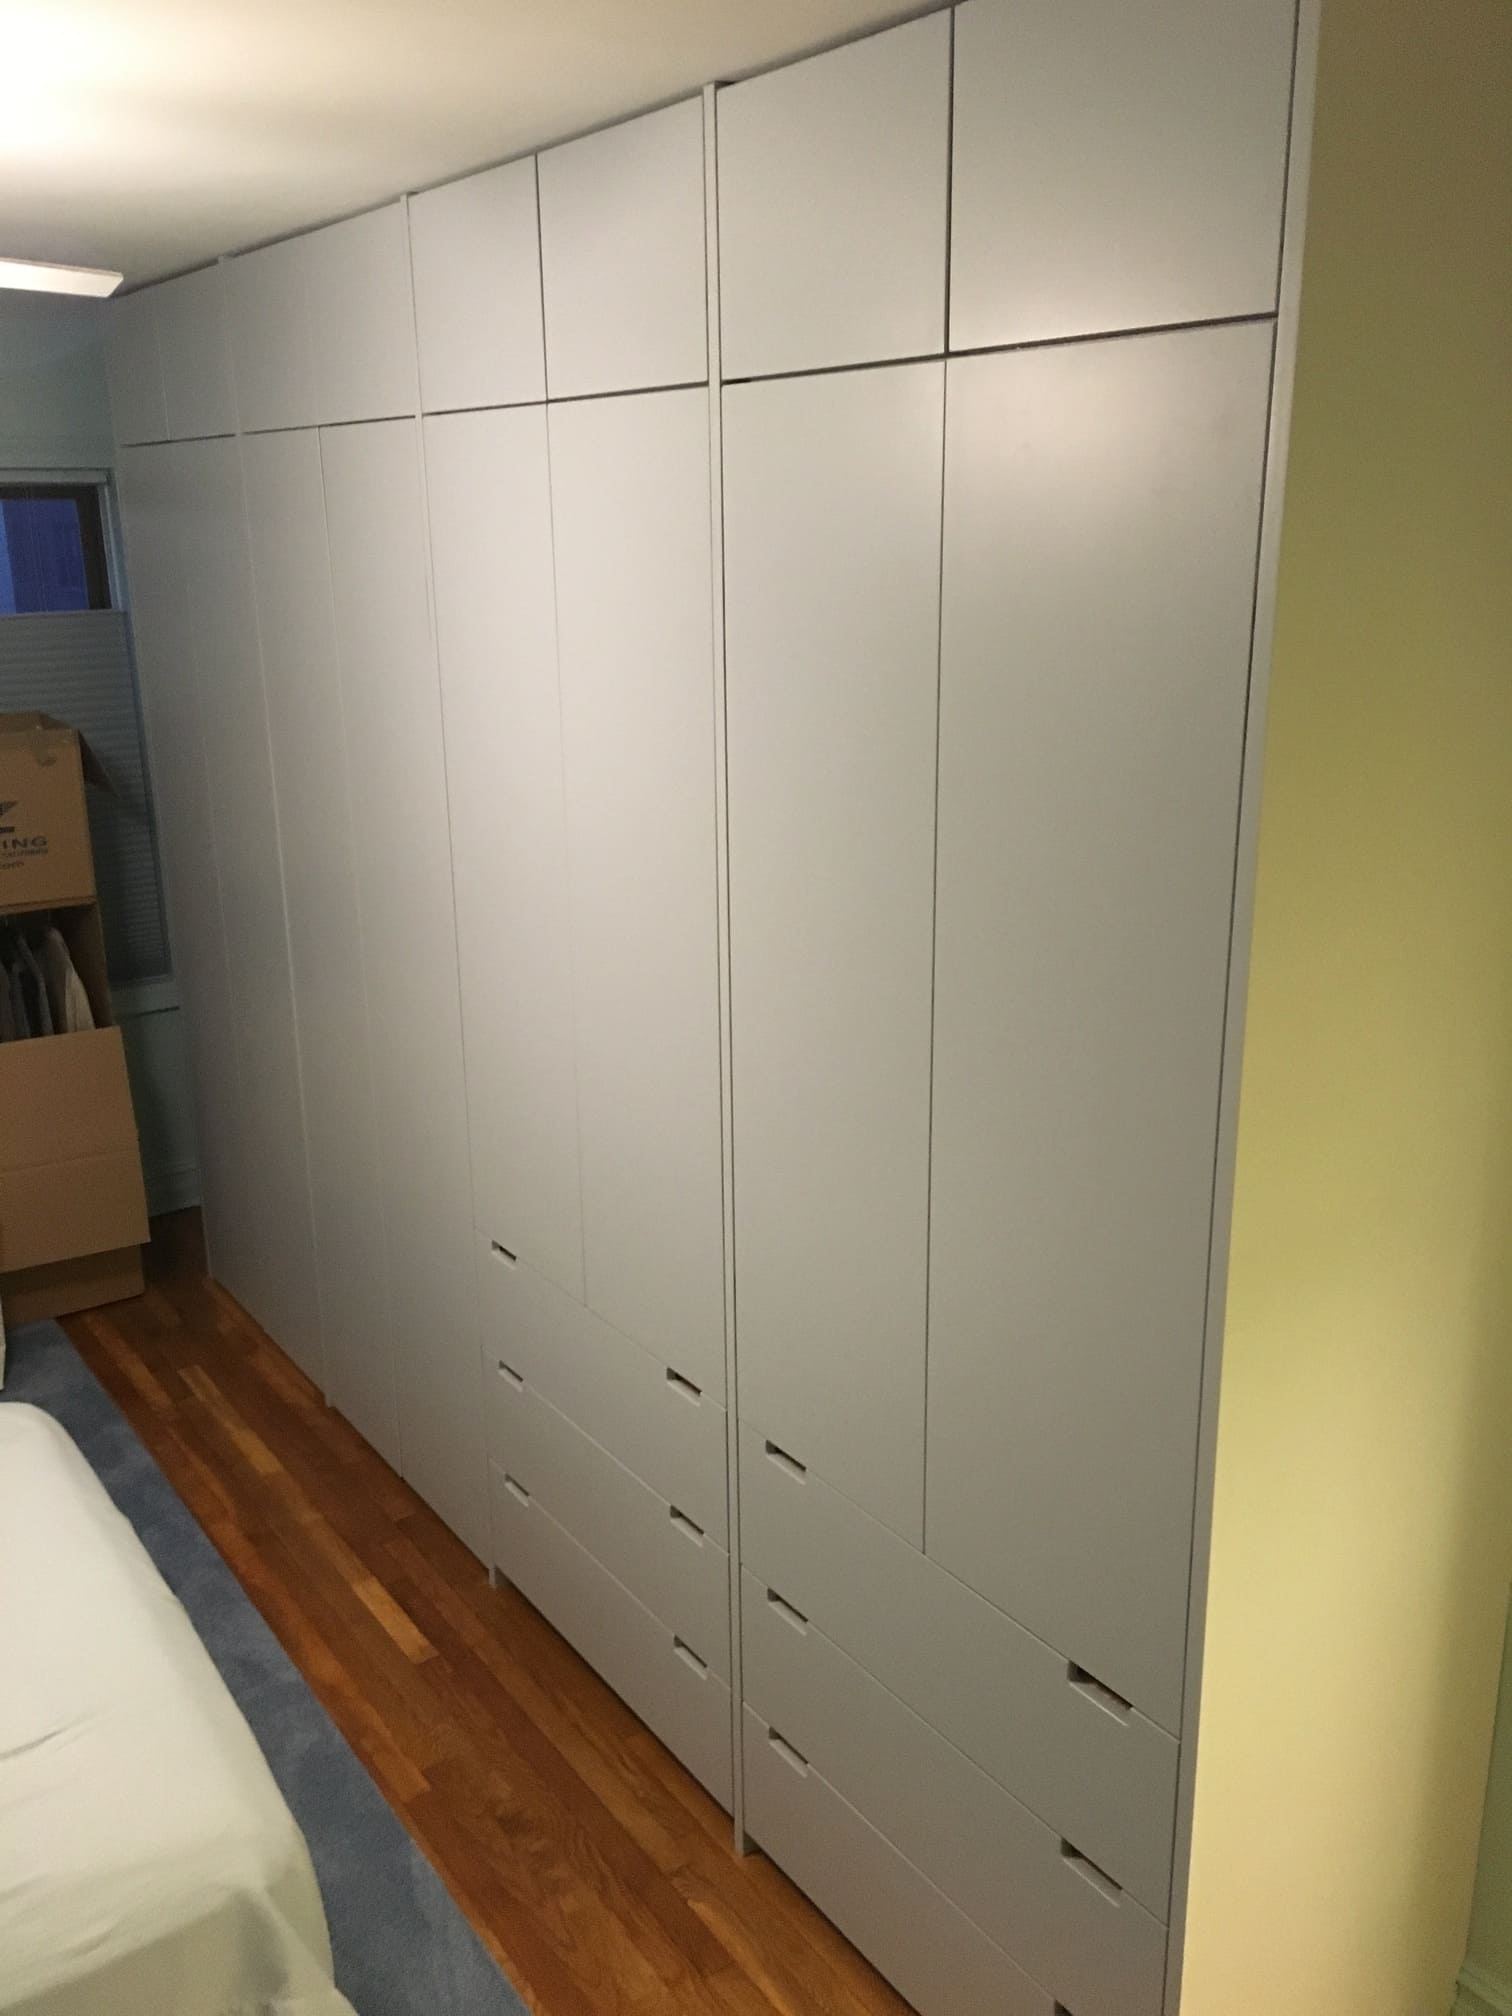
Close up view of the master bedroom closet.
After

This dining room wall cabinet was made for china and dinnerware. It is made of rock maple veneer Canadian birch ¾” furniture grade plywood assembled on site from pieces. Doors hung with standard European style Salice hinges. No external hardware.
After

Here is a master bedroom bureau of drawers very well tip proofed with same drawer hardware used in the master bedroom closet drawers. Constructed of rock maple veneered ¾” Canadian birch furniture grade plywood, solid rock maple parts, (all corners of the larger case and edges of drawer fronts) premium finished with clear catalyzed 2-part lacquer satin sheen. Stands 52” from floor to top, 52 inches side to side and has 22” deep drawers 40” wide and some with a height of 11” capacity. The feet are made by Hafele of nickel-plated steel. I drew this up by hand and made it in the shop for my client. I installed this on site as well.
After
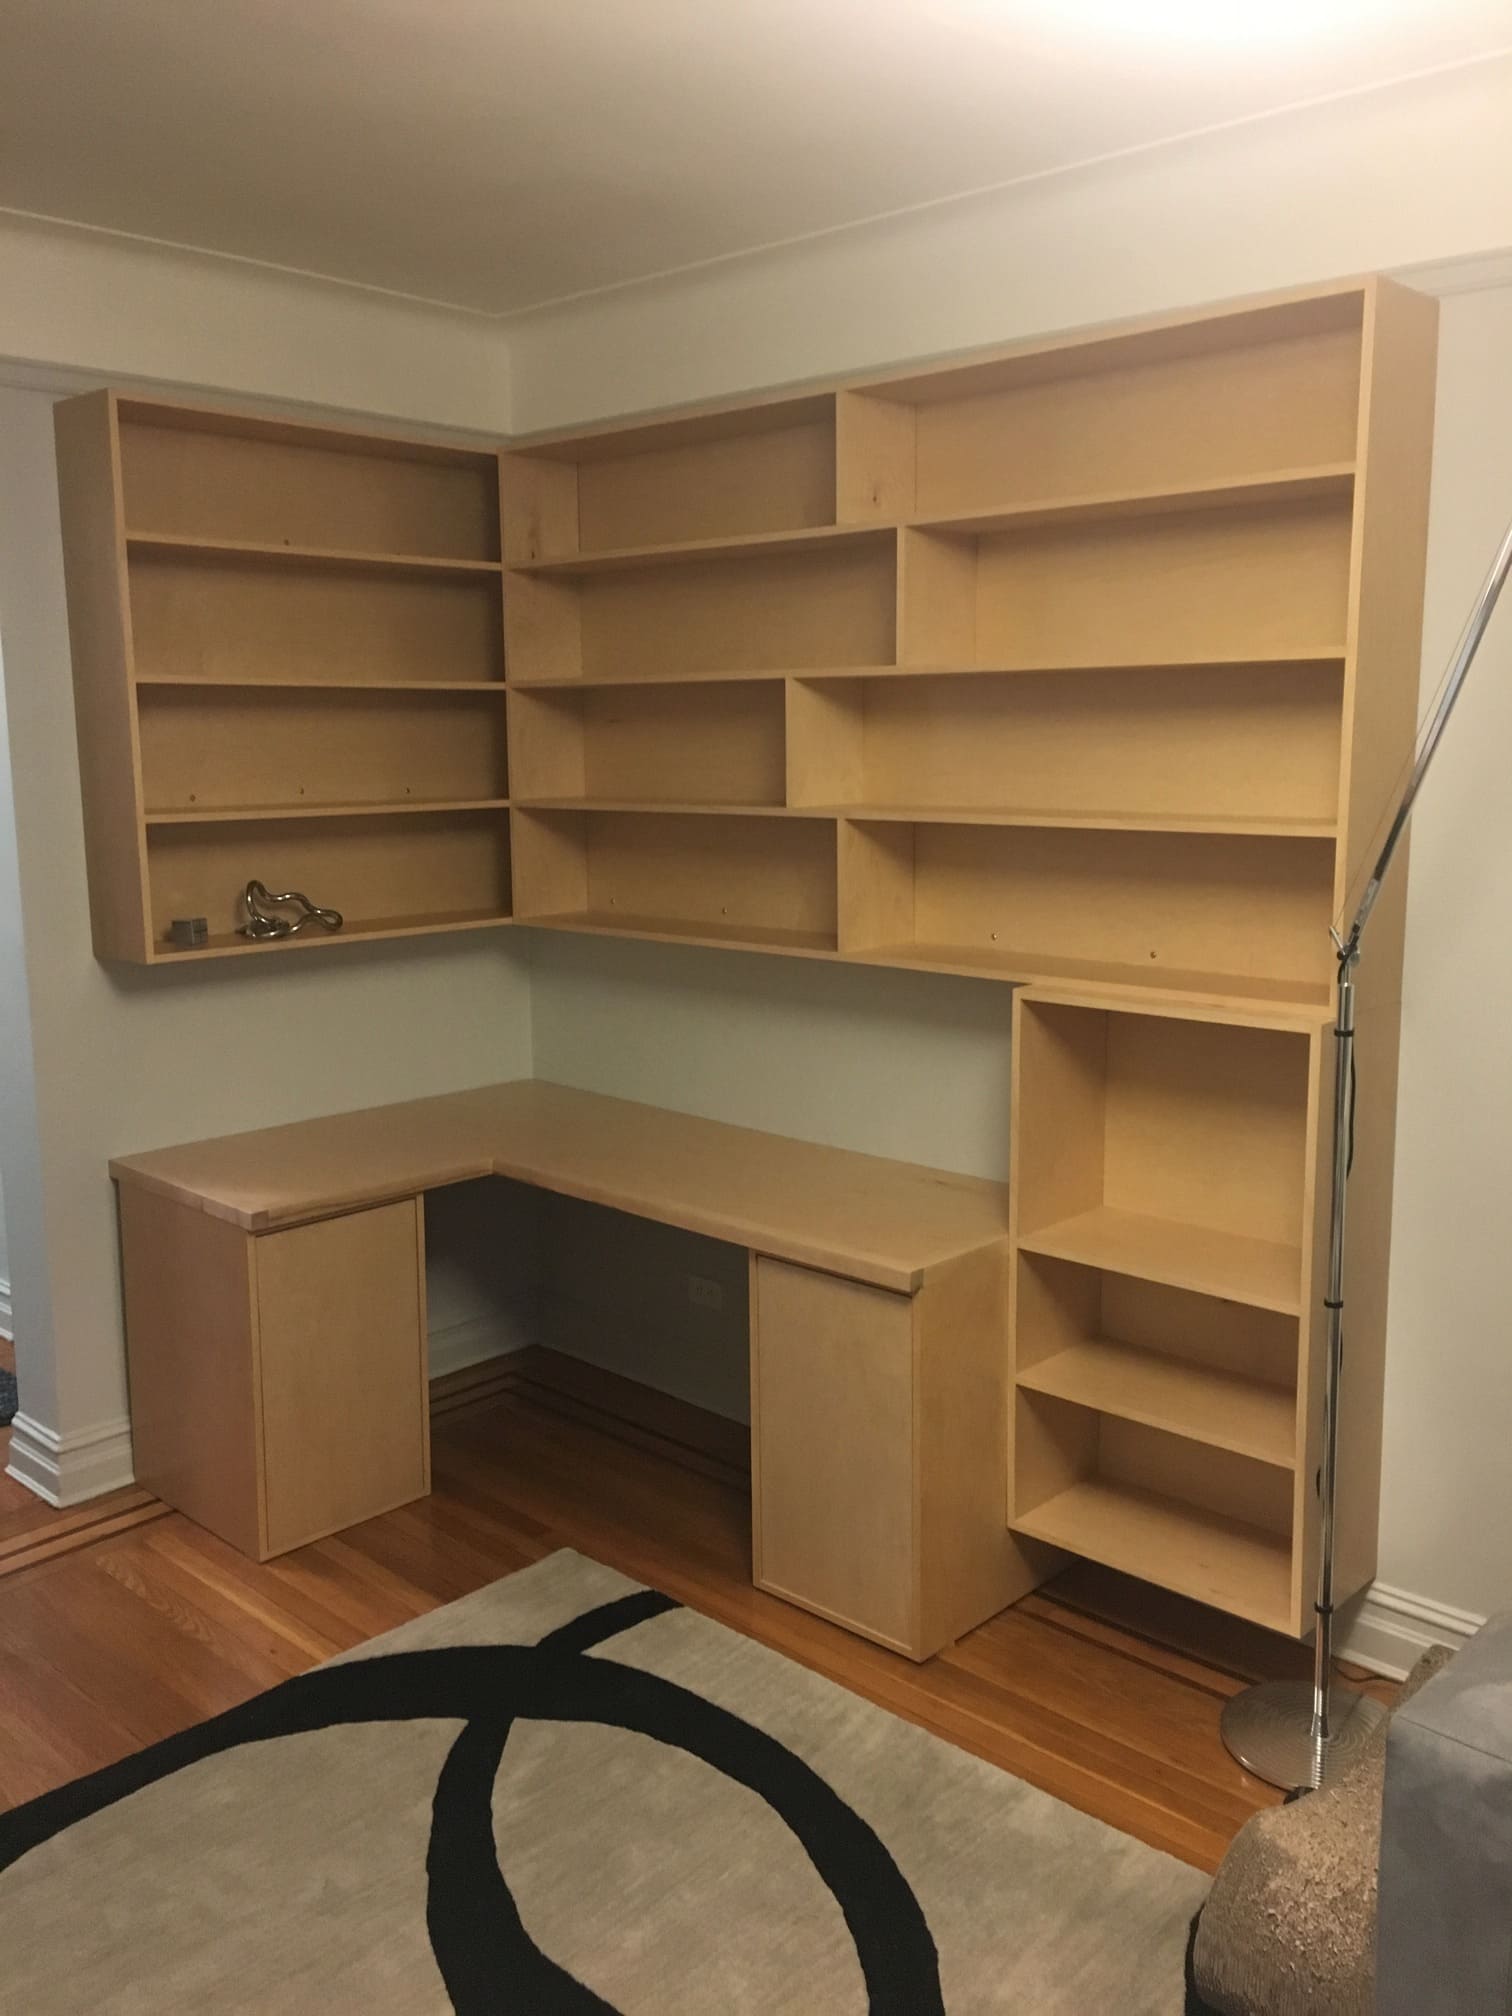
This is made of same materials used above in all mill work shown so far. These photos are of a corner desk custom made and installed on site. Shelving above and file cabinets concealed in plain finished blank covers under corner desk-counter.
After
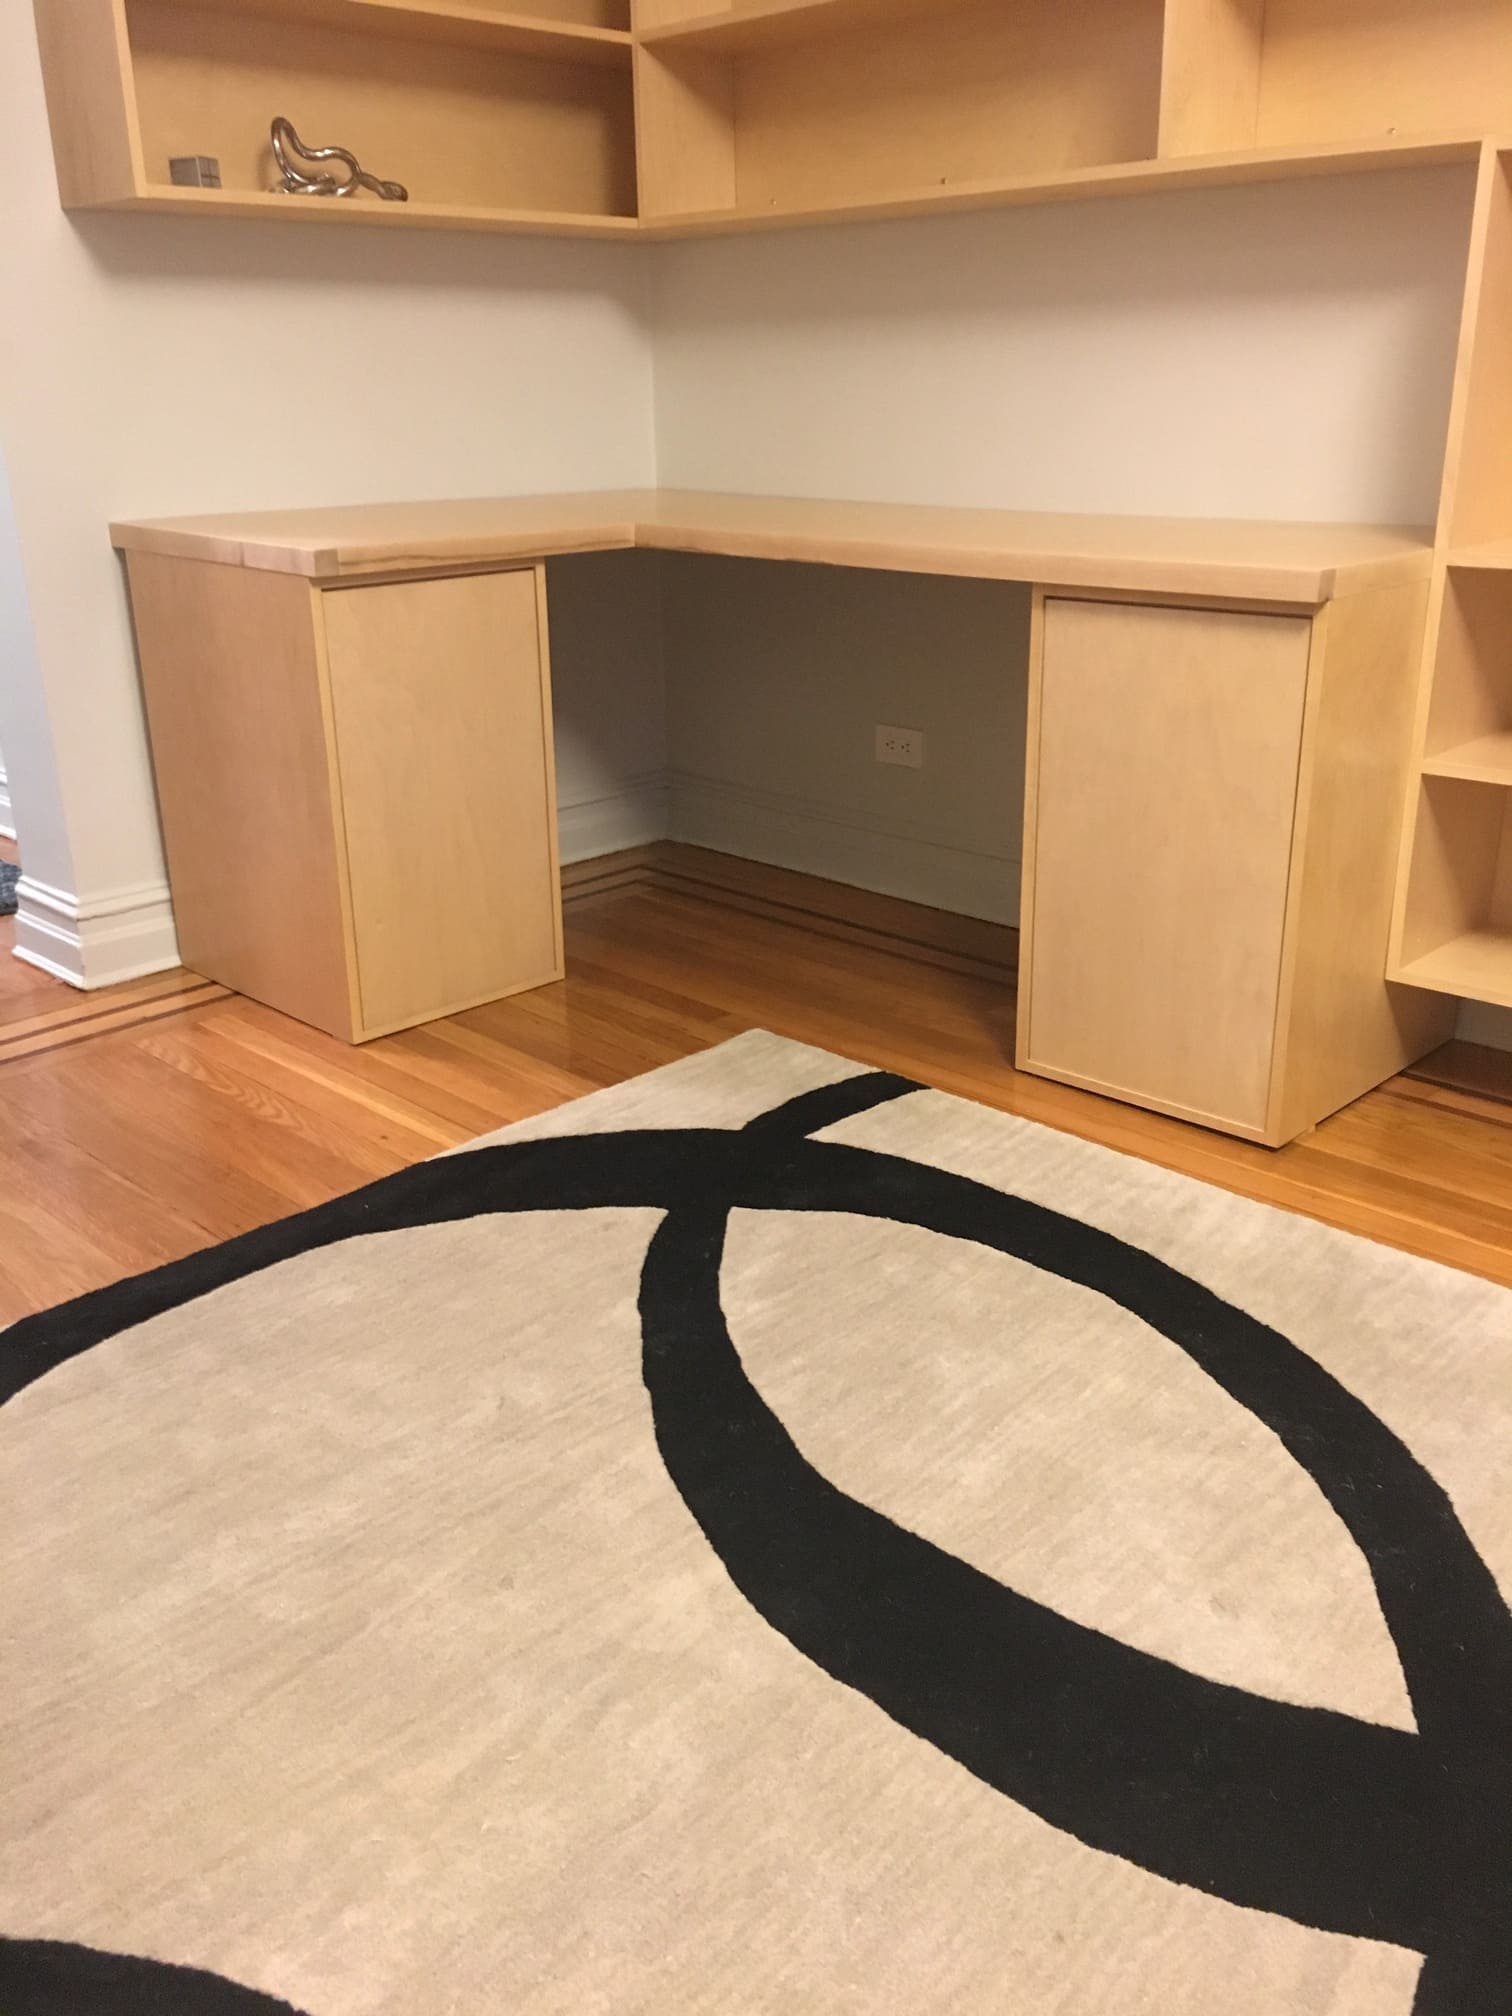
Another custom mill work. These photos are of a corner desk custom made and installed on site. Shelving above and file cabinets concealed in plain finished blank covers under corner desk-counter.
He who works with his hands is a laborer. He who works with his hands and his head is a craftsman. He who works with his hands and his head and his heart is an artist. – Frances of Assisi
“John took on the project and proceeded with the entire renovation to my complete satisfaction.” – Morris Shuman
*Work can be completed in the following zip codes of New York City.*
10001,10003, 10006, 10009, 10010, 10011, 10012, 10013, 10014, 10016, 10017, 10018, 10019, 10021, 10023, 10024, 10025, 10028, 10036, 11201, 11211, 11215, 11217, 11213, 11216, 11231, 11233